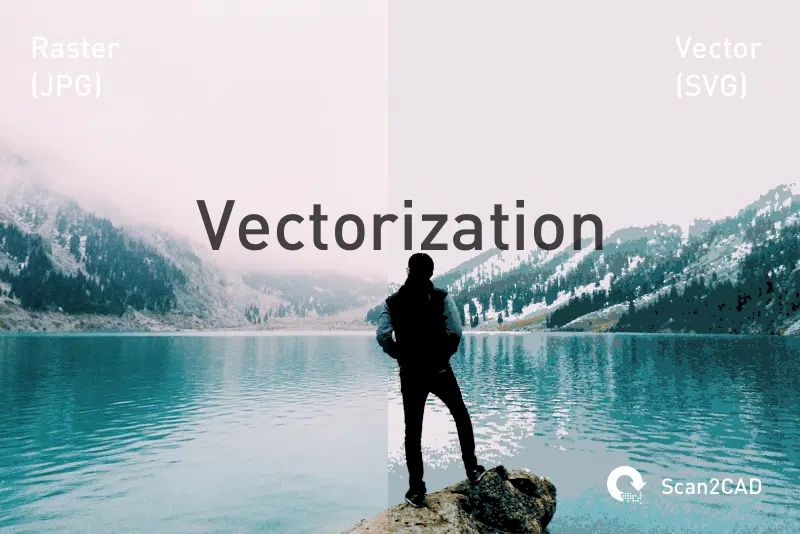
Vectorization is the process by which raster files are converted to vector. It’s a common enough practice amongst designers and engineers, but there are some things even experienced CAD users may not know. We start with the basics, clarifying what raster and vector files are, and why we would choose to convert one to the other. Then we move onto what the software does behind the scenes, and how to achieve optimal vectorization results.
1. Raster images: they’re everywhere!
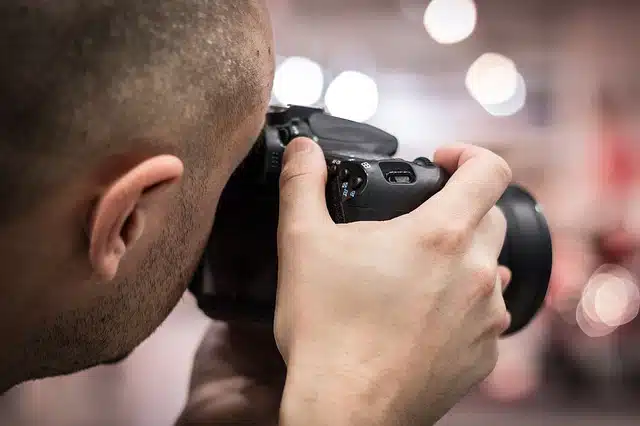
Photos are stored in raster file formats
The vast majority of the images you see online will be contained in a raster file format. What this means is that they are made up lots of individual pixels—the smallest part of the image, or picture element. Pixels contain information about color; each may be a unique shade, enabling the image to display not just block colour, but smooth transitions and blends between different shades.
The number of pixels contained within each image is fixed, and determines the pixel density. Optimal Pixels Per Inch (PPI) depends on the type of image, but will lead to the greatest resolution—so long as your device can display that level of detail. So, when the image is at its true size, it will retain sharp edges and clear detail.
Reducing the size of the image will not generally cause any visible problems, but enlarging it is a whole different matter. The expanded grid of squares can cause lines to become jagged, creating pixelation and the effect of blurriness. Simply increasing the number of pixels will not solve this issue, either, as your device will scatter pixels indiscriminately throughout the image.
The greater the amount of pixels, though, the greater the raster file size. Even compressed files like JPEGs can take up a lot of space, reflecting the huge amount of data stored within it.
2. Vector files are more functional
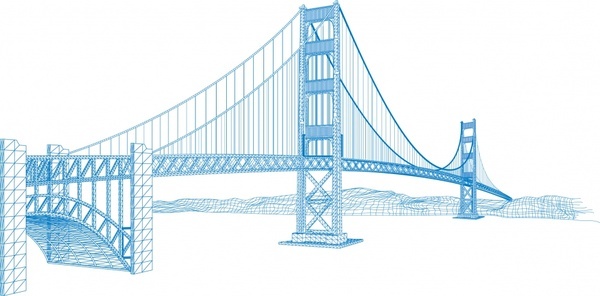
A vector graphic of a bridge
Where raster files, such as photographs or detailed pictures, can be found in general use everywhere and anywhere, vector files are much more common within CAD-design specific industries. Their make-up and function is completely different.
Vector images do not possess pixels. Instead, they are made up of various types of lines, mapped from one coordinate to another. Their ‘location’ is determined by mathematical formulae; in practice, this means that—unlike raster files—they are resolution independent. They can be scaled, so objects within the image will hold their shape and clarity, whatever size they are viewed at.
They include different information to that held within raster files, and are contained in formats such as DXF, DWG or PDF.
3. Conversion is all about usability
JPEGs, GIFs, PNGs and TIFFs are all common raster file types. And they do their jobs well. JPEGs, for instance, are a great choice for a photograph: the format is able to store a huge amount of colours, which enables it to portray a high level of detail.
So why would you ever choose to change them? Well, as we’ve already discussed, a raster file might look impressive when viewed at the size in which it is stored, but zooming in or increasing the size will degrade the image. The pixels that perform so well at their original size suddenly become the file’s downfall. Converting from raster to vector enables scalability—where the image will remain sharp however far you zoom in—and comparable files tend to be much smaller in size.
But that’s not all. Vector files are also much more useful to many of the functions for which CAD is used. They contain a wide range of information crucial to this type of design.
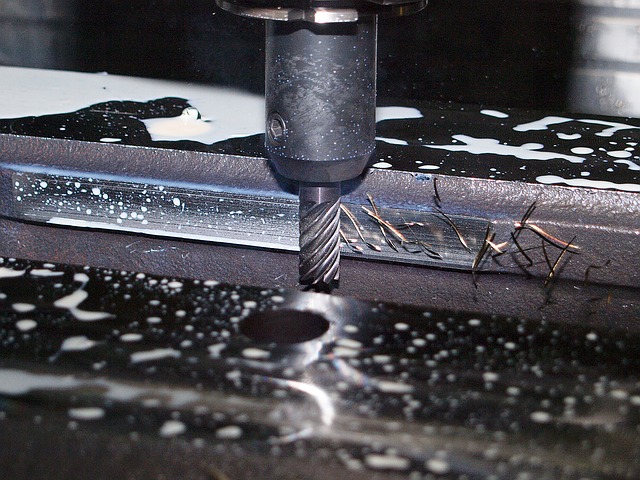
Raster files are not suitable when designing for CNC
When the end goal of your design is fabrication in CNC, there is no other choice than to convert your image to vector. Tools like laser cutters, milling machines and CNC routers are not able to follow raster files, which do not hold any of the information they require. Instructions are easily contained within vector files, though: the points, mapped from A to B to C (and so on), tell the machine where exactly it needs to cut.
So, vector files are much more versatile, easier to work on in common CAD software like AutoCAD and SolidWorks, are suitable for CNC design, and never lose quality. That’s certainly enough to persuade us of the benefits of converting files out of a raster format.
4. There are 2 types of vectorization
When you’ve established why you need to vectorize your image, you need to decide how best to go about it.
Manual vectorization refers to the process of tracing a raster image into a vector file by hand, using a mouse, tablet or graphics pen. As a human’s understanding is superior to that of a computer, images need not be of perfect quality, so long as you are able to determine where the lines are supposed to be drawn. It is, however, time consuming. Complex images coupled with an inexperienced tracer is not a very efficient use of time.
Automatic vectorization, on the other hand, is tracing performed by a computer program. Conversion software, like Scan2CAD, can detect elements that make up the raster file, such as lines and edges. It is able to redraw these as vector entities, although you may have to optimize the image first.
See more of the pros and cons of each type, to figure out whether you should use manual or automatic image tracing.
5. Prepare to encounter difficulties
We cannot accurately determine information like scale from this photo
Depending upon the image you wish to vectorize, you are likely to face challenges during the process.
Some raster files are simply not suitable for vectorization. Unlike for most design, in this process, there is such a thing as resolution that is too high. Software will be unable to determine distinct objects within detailed photographs, for example. Photos of 3D objects, like buildings, are also likely to contain missing information: scale, for one.
But images with limited colour (preferably monochrome) and maximum quality, such as technical drawings, are perfect material for raster to vector conversion. Logos are another strong contender, so long as the logo is isolated (no noise in the background).
Files contained in formats like JPEGs and GIFs that use lossy compression—meaning a reduction in quality when the file size is reduced—should also be avoided. TIFF files, on the other hand, allow for lossless compression—and are far more suited to vectorization.
6. Useful tools you’re going to need
As well as checking that your image is suitable for tracing, you can make use of other pre-vectorization processing techniques, to really get the best out of the conversion.
Scan2CAD offers a number of tools to improve your end results. If your image has too many colors (and this includes shades of grey in areas that might appear black or white), the software will detect them as different entities, and vectorize them as such. Before your conversion, there is the option to reduce colors automatically. It is possible to avoid eliminating necessary differentiation by taking advantage of the option to choose the number of remaining colors.
Additionally, particularly when scanning hand drawn images, you may find that lines are faint or broken. Thickening your lines and removing holes will enable the software to scan these more effectively.
For aspects to your image that are recognisable to the human eye, but proving a struggle for the software, you can even try a bit of manual tracing. The Pen tool is a handy feature to outline specific objects, although if the image is too busy, success will remain limited.
Scan2CAD also includes tools like Optical Character Recognition (OCR); some subscriptions are also able to support recognition of (legible) handwriting. This is particularly useful for plans, maps and technical drawings, where labels are critical to understanding.
These are just a few of the tools on offer; we’ve got a whole post dedicated to more of the top raster effects with which to optimise your vector conversion.
7. There’s a lot going on in the background

A simple click of the button? The software works a lot harder than you do
The actual raster to vector process might take you just a click of a button, but there is a wealth of activity going on behind the scenes.
Conversion programs first need to find the lines. We’ve already seen how difficult it is for software to accurately read raster images—that’s why we’re vectorizing in the first place! So there needs to be a way in which the program can establish where it needs to trace.
Fortunately, there is more than one. Line thinning involves algorithms that strip back lines until they are just a single pixel deep. Alternatively, contours may be matched, and lines determined by the way they connect around different areas.
The success of each system depends on the image you’re starting with. Noise is a particular issue for the line thinning technique, while contour-based methods are unable to accurately map lines where they meet each other. A combination of methods is often the best way to ensure optimal results.
Finding the lines is the tricky part, but in order to finish conversion, the software needs to use vector elements to redraw the image. These include lines, arcs and Bezier curves. When complete, the image should look like a complete drawing—although some more post-processing may be necessary. You can learn all about that, and more detail about the whole process of vectorization here.
So there they are: the top things we think you need to know about vectorization. But Scan2CAD’s conversion isn’t just a one-way street. If you’re wanting to go from vector to raster, look no further than our guide on rasterization.
