
LibreCAD is one of the more well-known free CAD solutions in the market. It’s not uncommon to see professionals using LibreCAD as an economical CAD alternative for more streamlined drafting processes. But the program is more typically used by newer CAD drafters and students – those that want to dip their toes into the world of CAD without spending too much on paid software. And unlike some other open-source programs available, LibreCAD boasts functionality and interface concepts that very closely resemble that of the industry-standard AutoCAD. Those looking to get into AutoCAD very often practice on LibreCAD for a smoother transition when they finally decide to purchase the former.
If you’re just getting into LibreCAD, you’ll find that a frequent requirement for most CAD work would be to use a reference image and create a CAD file out of that. It’s a fairly straightforward process but can be confusing for first-time drafters.
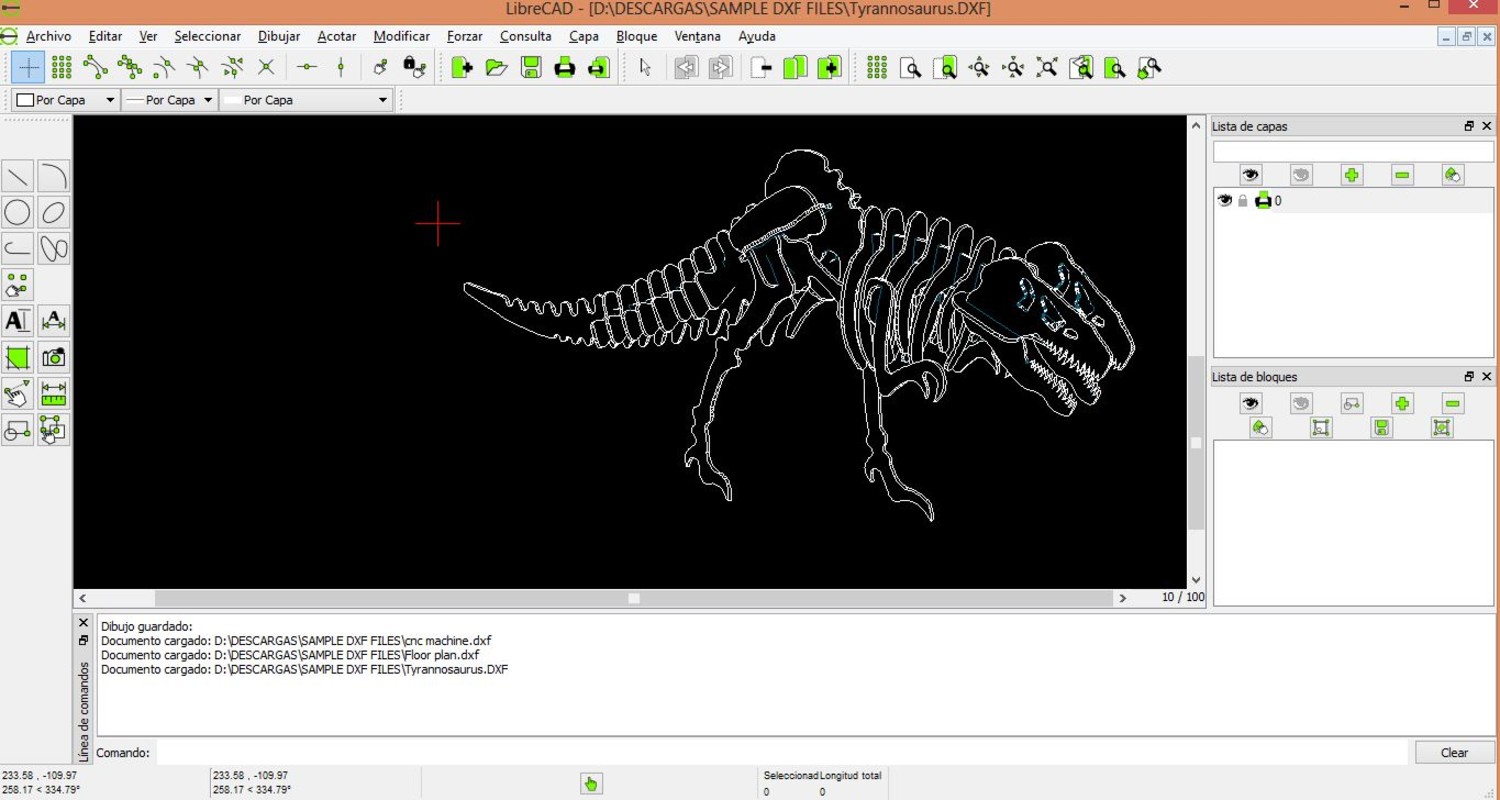
The standard LibreCAD interface Source
In this article, we’ll be covering a bunch of topics ranging from image file types, image conversion methods, and vectorization processes. Since it’s always on a case-by-case basis when it comes to dealing with the different types of image files available, we’ll do our best to cover anything and everything that can help you master the art of importing images into LibreCAD.
Table of Contents
Video: How to convert images for LibreCAD
Image types: raster vs. vector
Although the ideal world would be one where we didn’t have to deal with literally hundreds of different image file types, that sadly isn’t the case. So before we talk about converting images into a format that LibreCAD can handle, our first consideration will have to be the image file type we’re dealing with.
To keep things simple, we’ll talk about just the two major types of image files that we’ll most likely come across – raster image files and vector image files. Vector files are a bit easier to deal with since CAD files are, by default, also vector image files. But you’ll more often be dealing with raster files and it’s a little tricker to get these LibreCAD-ready, so we’ll get into detail about converting raster files first.
Raster images
The reason we mention that you’ll often be dealing with raster file types is that it’s also the standard way for images to be digitized. The most common formats such as PNG, GIF, JPEG, and BMP are all examples of raster files. They’re made up of individual tiny pixels and their quality is defined by their resolution size or the number of pixels they have in the image.
An easy way to tell whether an image is a raster file or not is to zoom in – if it gets blurrier the closer you zoom in, chances are that it’s a raster file. And it’s this blurriness that makes working with pixelated or low-quality raster files difficult in LibreCAD.
Here’s the basic process of opening up your standard raster image on LibreCAD:
Opening a raster image in LibreCAD
Step 1
Click on File > Import > Insert Image. In the dialog window that pops up, locate your image file and open it up.
Step 2
With your crosshair cursors, click where you want to place the lower-left corner of your image.
Step 3
At this point, you’ll want to take the time to calibrate certain details of your image such as its scale, the layer it’s on, and its transparency. You can use LibreCAD’s various drafting and editing tools to get the image just right.
Step 4
From here, we’re done with most of the complicated importing work, so it’s time to start with the tedious process of manually tracing over the imported image. Take the various vector tools of LibreCAD and trace over the details you want to vectorize. Depending on the complexity of the image, this could take from a few minutes to hours and days of working time.
So as you can see, LibreCAD can import raster files without a hitch. But the lines and details on the image can’t be edited natively. CAD programs draw using vector lines so editing raster pixels isn’t something it can do easily. And there isn’t a magic button that instantly sharpens low-res photos like the one they have on CSI-esque shows, so you’ll have to do a lot of guesswork to accurately depict bad reference pics as LibreCAD files.
Depending on the quality of the image, there might be a lot of manual work that needs to be done to get a raster image to work on LibreCAD. Luckily, like in the video we showed earlier, there are automatic conversion solutions that are available. Scan2CAD, in particular, stands out for its advanced object recognition, accurate OCR capabilities, and user-friendly interface.

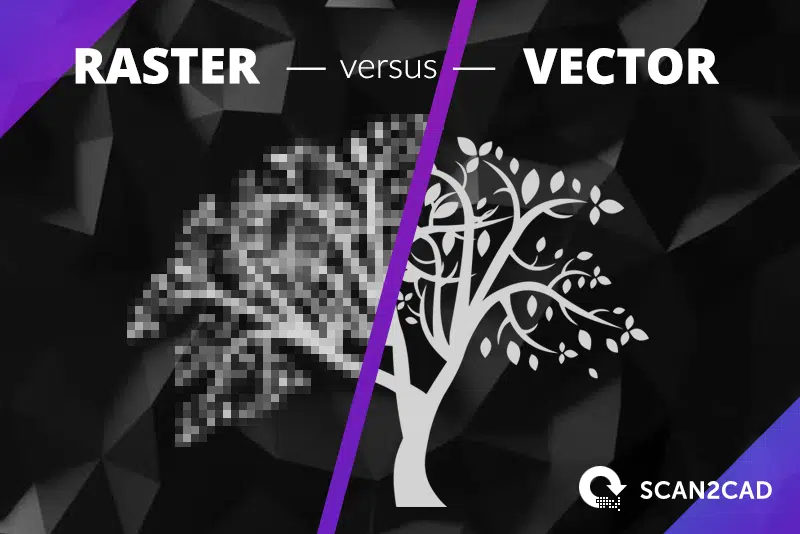
Smooth vector images and pixelated raster images Source
Vector images
If you find yourself dealing with a vector image for use on LibreCAD, you’ll generally have an easier time handling and importing the file. The native file format on LibreCAD is AutoCAD DXF, a good example of a standard vector file format for CAD programs. Aside from DXF, other common vector file types include DWG, g-code formats, and certain PDF documents.
The main difference that vector images have with raster images is their use of paths instead of pixels. Basically, paths are mathematical equations and digital data that dictate the specifics of how an element of the image – be it a line, arc, circle, or shape – is visually represented. As such, vector file elements will always be clear and sharp regardless of how much you zoom in on them. As such, vector files aren’t limited by their resolution and file size, unlike their raster image counterparts.
Do note that although LibreCAD can marginally support DWG files, it can only reliably open and handle DXF files. So you’ll have to first convert your vector files into DXF files before you can freely import them into LibreCAD with no issue. The video earlier showed earlier goes through the process but we’ll cover the specific details in a bit.
For now, just know that if your vector image is a DXF file, all you really have to do is open it up on LibreCAD as you would any CAD file that was produced on LibreCAD. It’s truly as simple as that.

Converting images into DXF files for LibreCAD
In cases where you don’t have the time to manually trace over raster images or when you have non-DXF vector images that you absolutely need to import into LibreCAD, automatic file conversion would be your best bet.
Let’s go through how Scan2CAD is the only option for high-quality, straightforward file conversions for CAD programs.
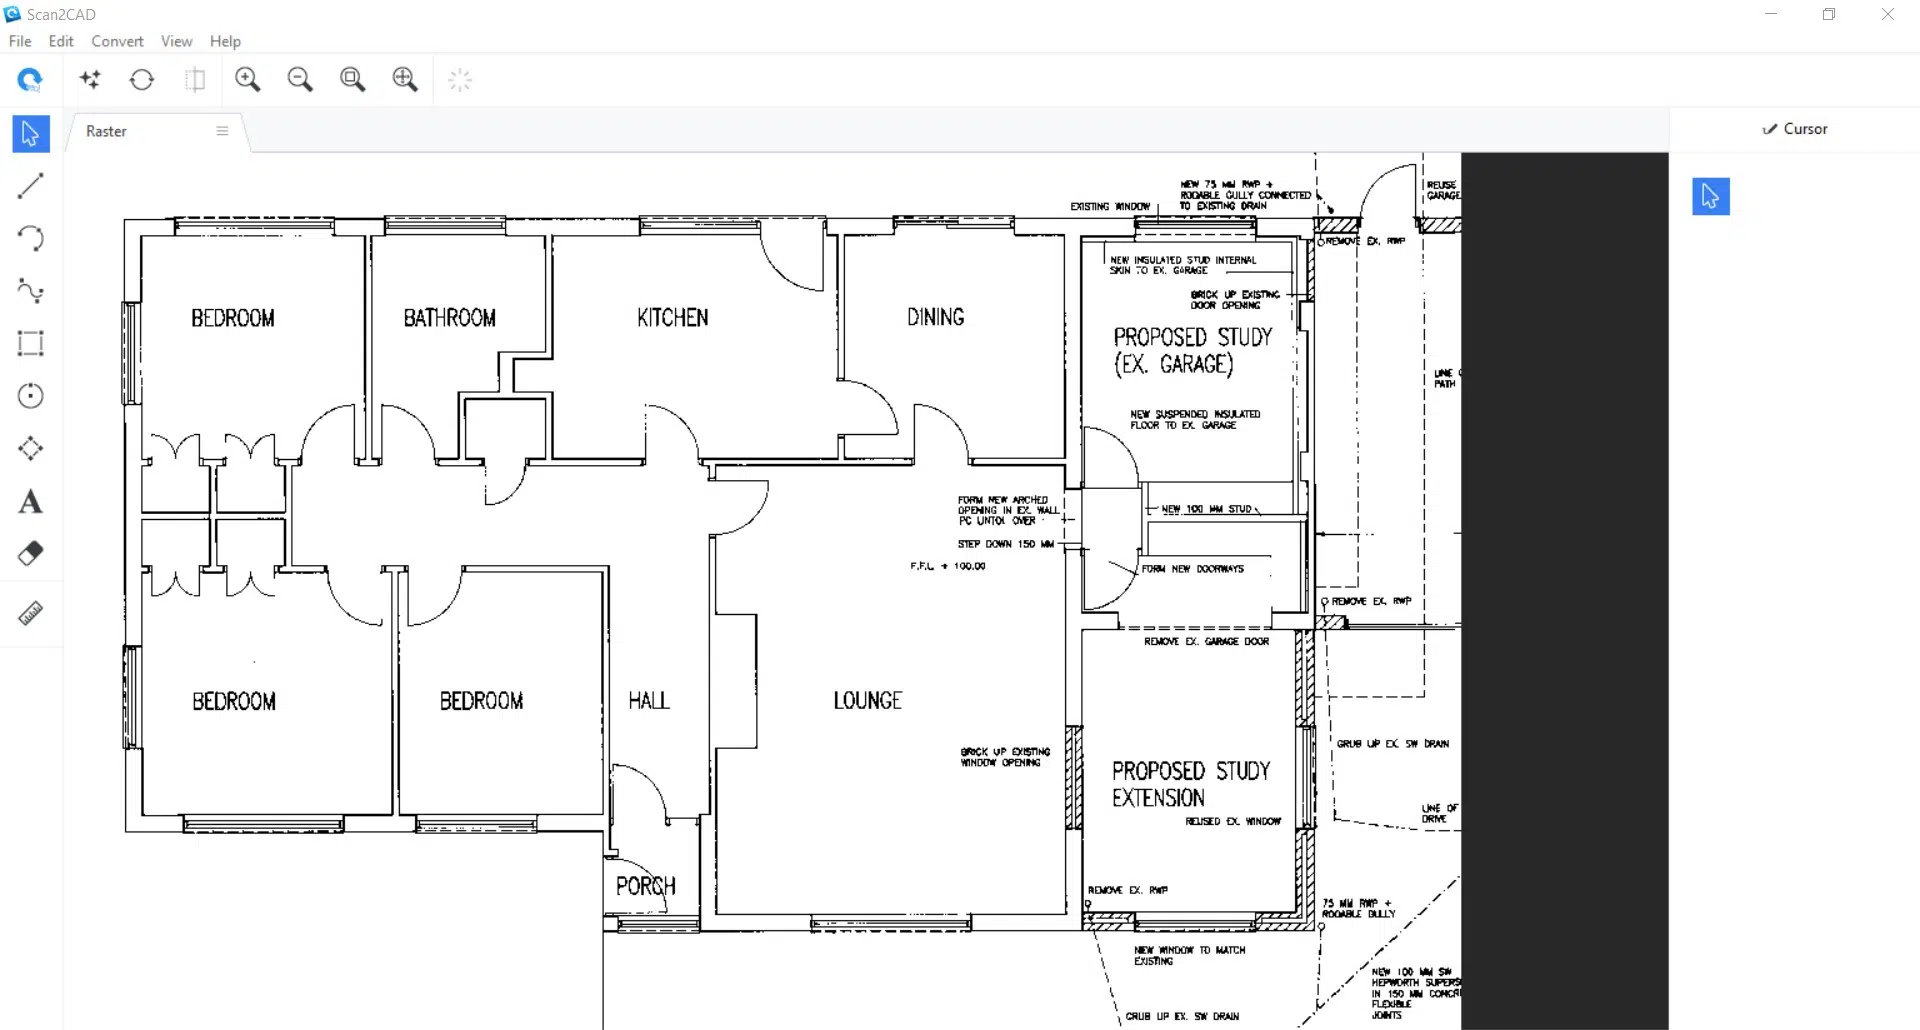
Converting a raster floor plan on Scan2CAD
Converting an image for LibreCAD
Step 1
Open up your image on Scan2CAD. If it’s a raster image, proceed to Step 2. If it’s a vector image, skip to Step 5.
Step 2
Clean up your raster image. Click on the ‘Clean Image’ button at the top left of the interface and use the following tools at your discretion.
|
Image Processing Feature |
When To Use It |
|
Threshold |
To turn your image black & white. Always click on this first for raster images unless it’s already grayed out. If the option is grayed out, that means the image is already black & white. |
|
Remove Speckles & Holes |
To get rid of any pixel speckles or holes in your image. Set the values higher to get rid of more noise in the image but be careful not to set it too high that it starts erasing parts of the image you want to keep. |
|
Thicken Lines |
To make thin lines in your raster image more visible. |
|
Smooth |
To smoothen out any jagged or pixelated edges in your raster image. |
Step 3
Use the editing tools on the left of the image to manually add raster lines or erase any raster elements.
Step 4
Click on ‘Convert raster image’ next to the ‘Clean Image’ button. For most technical drawings you want to import into LibreCAD, choose the following options.
|
Vectorization Feature |
Recommended Option |
|
Vectorization Method |
Technical |
|
Options |
‘Vectorize’ for textless images; ‘Vectorize and OCR’ for raster images with text. |
|
Vectorization presets |
A wide variety of options are available depending on the type of drawing you’re dealing with. |
Step 5
Click on ‘Run’ to generate a vector preview and click on ‘OK’ if the preview is up to par with your standards.
If there are some details in your vector image that you want to finetune such as optimizing the vector elements, converting polyline vector texts into TrueType text, or smoothing vector lines for CNC cutting, click on ‘Convert vector image’.
|
‘Convert Vector Image’ Option |
Description |
|
Optimize vectors |
Various options to calibrate the vector lines exactly how you want them. Has a useful tool that gets rid of any OCR text that you don’t want to include in your final product. |
|
CNC Smoothing |
Takes care of segmented arcs or curves made of polylines. Typically used for CNC purposes. |
|
OCR |
Converts polyline text into vector TrueType text. |
Click on ‘Run’ to see your settings on a preview image and click on ‘OK’ to finalize those changes.
Step 6
Once you’re happy with your vector image, click on ‘Export’ on the top right. Choose the location you want to save it, pick DXF as the file format, and name your file accordingly. Click on ‘Save’ once you’re done.
A few extra settings will show up; make sure you tick on ‘Convert black vectors to white’ – LibreCAD has a dark-colored background so you want to have white vector lines for the sake of visibility and convenience.
With a process this easy and straight-forward, there’s very little reason to choose anything other than Scan2CAD for your LibreCAD importing needs.
