Most images online, or on your PC, will be in a raster image format. However, raster images aren’t suitable for all purposes. If you need to edit an image using CAD software, for example, you’ll need to convert your image to vector from its original raster format. This is a common requirement across a range of industries, but unfortunately, the conversion process itself can be tricky.
In this article, we’ll outline how to convert images to vector formats quickly and simply. We’ll also go into detail about which vector formats to choose, as well as providing some handy tips on how to make the conversion process run smoothly.
Table of contents
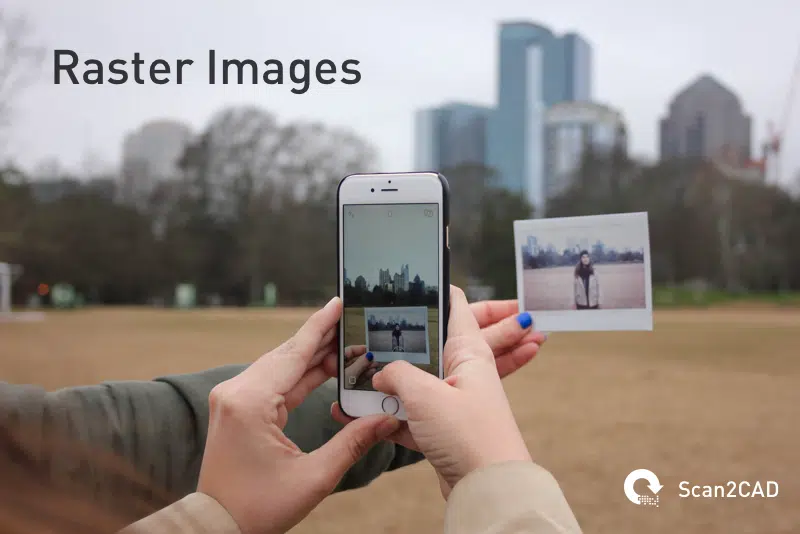
Raster images
The vast majority of digital images we encounter in daily life are raster images, from the photos we take on our phones through to GIFs we share on social media. There are plenty of reasons behind the predominance of raster images:
- Web browsers support many of the most common types of raster image formats
- Raster images are ideal for purposes such as photography
- Scanning a paper drawing will create a raster image
- Many of the most popular image editors, such as Photoshop, work with raster images
However, raster images come with their own drawbacks. Firstly, raster images are made up of pixels, and are thus intended to be displayed at a set resolution. This means that resizing or zooming will inevitably come with some loss of image quality.
Secondly, raster images have no structure; they are simply a map of different colors. This means that CAD programs cannot interpret what the image represents nor distinguish between different elements within the image. This also makes it impossible to convert the image to a CNC-compatible format, such as G-code.
If your image is saved in a raster file format, and you need to use it for CAD or CNC purposes, then your only solution is to convert your image to a vector format.
Common raster file types
There are hundreds of raster image types on the market, each offering its own benefits and drawbacks. Here, we’ve focused on just a few formats that you’re most likely to use.
JPG
![]() One of the most well known raster file types around is JPG. This format is the perfect choice for photographs because of its small file size. This is an advantage as it allows users to store hundreds of photos on a phone or digital camera without having to worry about running out of space.
One of the most well known raster file types around is JPG. This format is the perfect choice for photographs because of its small file size. This is an advantage as it allows users to store hundreds of photos on a phone or digital camera without having to worry about running out of space.
To achieve this reduction in file size, though, JPG must cut some corners with image quality, and uses lossy compression techniques. This typically isn’t a major issue with photos, where some blurring around the edges won’t have too negative an effect on image quality. When dealing with line drawings such as floorplans, however, JPG’s shortcomings become apparent, as compression artifacts will appear.
Compression artifacts make it difficult to convert a JPG image to vector. As such, we recommend that you avoid saving your image as a JPG.
PNG
![]()
Lossless compression means that, when you save a PNG file, it won’t lose quality. This sets it apart from file formats like JPG, and makes it a better choice if you’re looking to vectorize your image later on. The one downside is that file sizes are larger than for JPG.
TIFF
![]()
Uncompressed images guarantee users maximum image quality. As you may expect, though, this means that TIFF files can balloon in size to be far larger than an equivalent JPG, or even PNG. Nonetheless, if you’re seeking to convert your image from raster to vector, it’s important to prioritize image quality over small file sizes. That’s why Scan2CAD recommends TIFF as the best file format to convert your image to vector.
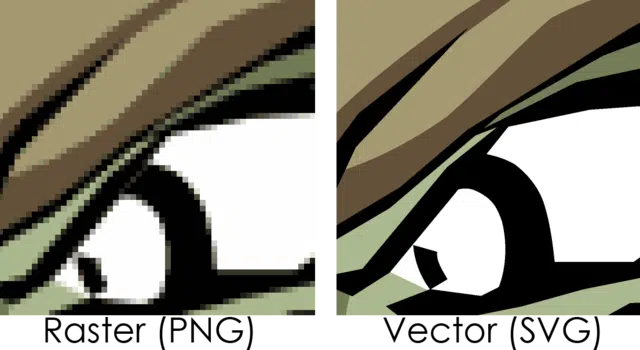
Vector images
Vector file formats offer users an entirely different way to store image data. That’s because they eschew pixels and instead opt for objects. This means that, instead of displaying color information, they display the individual elements of an image. Elements within a vector image can include lines, curves, shapes, and text, amongst other object types.
Each object in a vector image is defined by mathematical coordinates. This means that it’s possible to display a vector file at practically any scale without loss of clarity or quality. Additionally, for the same reasons, you can display a vector image at any resolution.
Another benefit to vector images is that all elements of the image are distinct from one another. This makes it easier for CAD and CNC control software to use and interpret the image, and also allows users to attach data to individual objects. For example, if you were using architectural CAD software, you could specify the building material for a particular wall.
As well as the positives above, vector images often come with smaller file sizes, too. This is because, where raster files contain information about each individual pixel (including the background), vector files only contain information about the relevant parts of the image.
Common vector file types
Much as with raster images, a wide selection of vector file types exists. However, in the world of CAD, two file types predominate: DXF and DWG. We’ll explore the reasons why you might choose to convert your image to either of these two vector file types.
DWG
![]()
The DWG format is primarily intended for use with AutoCAD. As such, it reflects the changes made to the program itself, and Autodesk periodically releases new versions of the DWG format to coincide with new AutoCAD releases.
The format supports a wide range of vector entities, including many that are specific to AutoCAD. However, there are now many other ways to view DWG files without AutoCAD, and the file type remains popular with users of many different CAD programs.

DXF
![]()
While there are a few, AutoCAD-specific entities that DXF doesn’t support, the format is identical in most ways to DWG. Add this to the fact that practically every CAD software on the market supports DXF, and it’s clear to see why DXF has become a popular file format. If you’re looking to share your image with a wide range of clients after conversion, and you aren’t sure whether all of them use AutoCAD, then it may be safer to save your file as a DXF.
Though vector files aren’t perfect in all situations—such as for displaying photo-realistic images—they’re ideal for CAD. Read on to find out exactly how to convert your image to vector.
Conversion options
If you’re used to programs such as Photoshop, then you might think that converting from one file type to another is as simple as clicking “Save As…” and selecting from a drop-down menu. Unfortunately, it’s not that easy to convert from raster to vector.
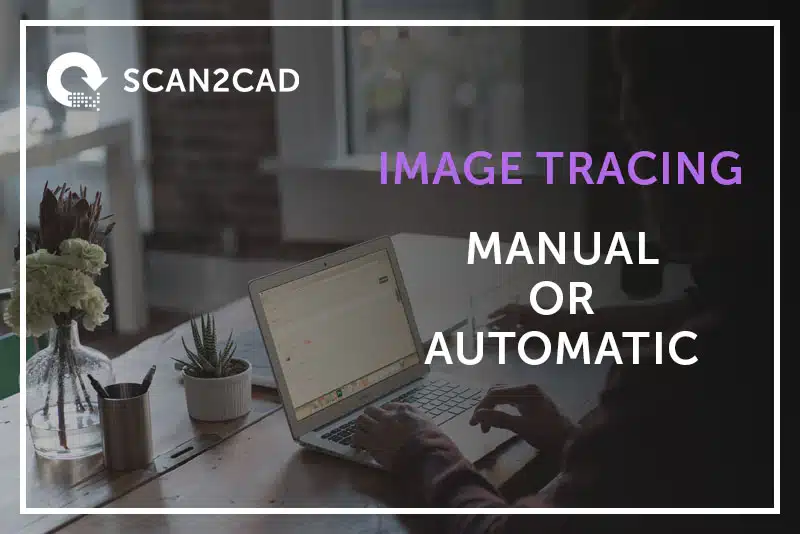
As raster and vector images operate using entirely separate principles, converting an image to vector (also known as vectorization) is more complex. The only way to accomplish this conversion is through tracing over a raster image. There are two ways to complete the tracing process:
- Manual tracing. This involves opening your raster image in a program such as Inkscape, Illustrator or SketchUp, adding a new layer on top of the existing image, and then drawing vector lines, shapes and text that reflects the content of the raster image.
If you have plenty of time on your hands to trace your image accurately (and a steady hand!), this method can produce great results. However, it’s certainly time-consuming—it could take hours or even days to trace a single image!
- Automatic tracing. Vectorization software, such as Scan2CAD, can automatically detect the lines, shapes and objects present within an image. From this, they can then produce a vector representation of the raster image. It’s also possible to detect text (and even handwriting!) thanks to OCR technology.
The key positive to automatic tracing, however, is speed. It takes mere seconds to convert an image to vector using automatic tracing. You can also use batch processing to convert many images at once—something that would require an entire team if tracing manually!
There are some downsides, though—this method requires some pre- and post-processing, so humans aren’t entirely off the hook here. Meanwhile, even the ultimate vectorization software doesn’t have the same understanding of an image’s contents as a human would. This means that it may make some errors during conversion. Nonetheless, there are ways to help reduce these issues—read on to find out how!
Convert image to vector
How it works
Converting images to vector files automatically is a difficult process. That’s because it requires a computer program to understand an image—something that it finds much harder than a human would.
Because of this, vectorization works best with images that are:
- simple
- clear
- monochrome
For example, if an image consisted of the outline of a black square on a white background, it would be incredibly easy to vectorize. It would be close to impossible, meanwhile, to achieve good results with a full-color photograph.

Potential issues
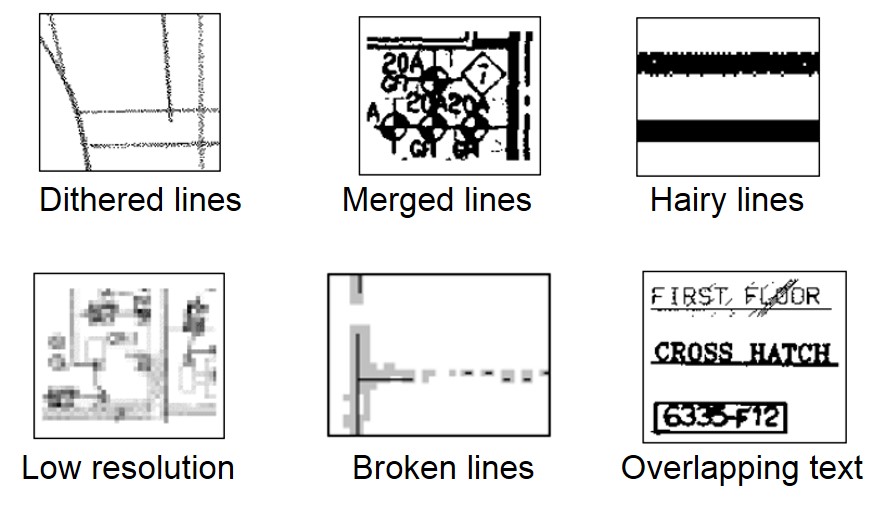
Common issues with raster images
With many potential types of vector entities, it can be difficult for vectorization software to know how to process your vector file. For example, it might not always be clear whether an object is a straight line or a curve.
As well, your entire image, or individual objects within it, may suffer from defects. This can occur due to errors in the scanning process, skewing, or problems introduced by saving your image using a lossy file format. These may include the appearance of speckles or ‘holes’, blurriness, or the use of grayscale rather than monochrome colors.
Whilst high-quality, accurate, professional software such as Scan2CAD will find issues like these much easier to deal with than an online conversion tool, there are still ways that users can improve their original raster image to make it easier to convert.
Improve your results
Most users who need to convert images to vector files will find themselves somewhere in between the extreme situations described earlier. In some cases, these issues can be avoided by re-scanning your image, or obtaining a version that isn’t saved as a lossy file format such as JPG.
However, in some cases, you have no choice but to go ahead with converting a less-than-ideal image. This means that you’ll need to perform a few pre-processing steps to get your image up to scratch. Some of the most common are found below:
- Use thresholding. Thresholding enables you to turn a grayscale image into one in which there are only two colors: black and white. With Scan2CAD, you’ll see a dialog box appear while using the thresholding tool, which enables you to set a cut-off point at which shades of gray will be processed as either black pixels or white pixels.
- Thicken lines. It’s common for broken lines to appear if you’ve scanned in an image, particularly if the image was originally drawn in pencil. You can solve this issue by using Scan2CAD’s Thicken Lines tool. Be careful when using this tool, though—you don’t want to join together lines that shouldn’t be connected!
- Remove holes and speckles. Holes may appear if your image is too faint. To correct this, use Scan2CAD’s Remove Holes feature. Meanwhile, the opposite problem is the appearance of speckles—additional extraneous pixels that can appear close to the edges of lines and shapes, and can make it difficult for the program to tell the difference between an object and its background. To remove this, you can either erase the pixels freehand, or do it automatically using the Remove Speckles tool.
We have plenty of additional recommendations on how you can get your raster image ready for conversion. So, before you vectorize your image, be sure to check out our top 10 raster cleanup effects.
Converting your image
Now that all the preparation is done, you’ll be pleased to learn that the actual conversion process could hardly be simpler! In fact, all you’ll have to do is open your cleaned-up raster image in Scan2CAD, then click on one of the available conversion options. And voilà! You’ll convert your raster image to vector in a matter of seconds. You can see what that looks like below…
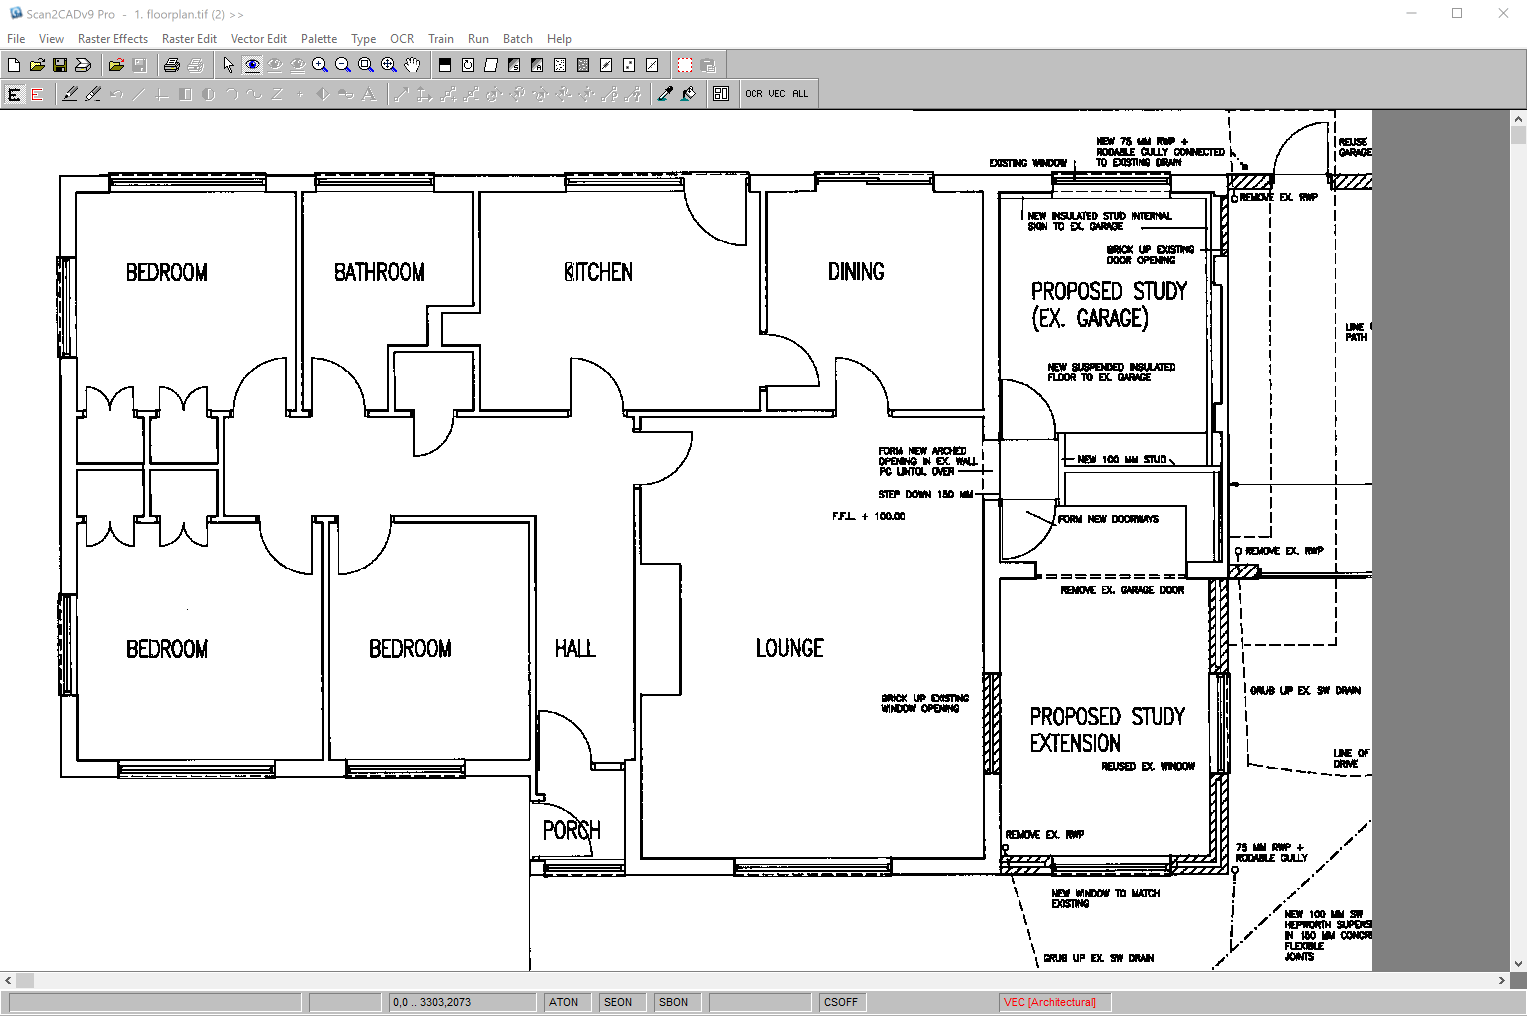
Converting a technical drawing to vector with Scan2CAD
Why use Scan2CAD?
There are a whole host of tools available which allow you to convert images to vector formats—so why choose Scan2CAD?
The answer is simple: Scan2CAD is the professional, accurate conversion solution.
With Scan2CAD, you needn’t worry about whether your software will be able to distinguish an arc from a circle, or whether it will deal with dashed lines correctly. Scan2CAD’s superior vector recognition software makes it the ideal choice for architects and engineers looking to convert technical drawings with pinpoint accuracy.
Meanwhile, Scan2CAD also offers a vast range of tools that enable you to optimize your image prior to conversion, and perfect it at the end. With support for a vast range of file types, Scan2CAD makes it easy for you to convert to and from all of the most popular raster and vector formats on the market. Plus, with support for batch processing, you could convert your images faster than you think.
There are so many reasons to choose Scan2CAD—but don’t just take our word for it. Try Scan2CAD out for yourself with our 14-day, no obligation free trial. Click the link below to download today.