Table of Contents
Converting Images to CAD
Most CAD drafting and modelling workflows will include some variation of getting source materials, translating those reference materials into workable drafts and models, and refining the initial drafts into finalized technical drawings. Before CAD drafters can even start working on reference-based drafts comes the tedious task of converting raster images into editable vector files.
There is always the time-tested manual trace method where you import the reference images and use them as an underlay to trace overusing your preferred CAD software’s sketch tools. There are also automatic ways of tracing, such as using raster-to-vector conversion software like Scan2CAD.
In this article, we’ll be discussing some lesser-known raster and vector file types as well as how to convert them to become usable and editable files on CAD programs. Specifically, we’ll be learning how to convert TIFF images into DGN.
TIFF

TIFF raster image file format Source
The TIFF was developed back in 1986 by Aldus, a company that would eventually be absorbed into Adobe. Properly known as the Tagged Image File Format, it was designed to support scanned images, whether they be in color or in gray-scale, and their import into layout programs. It’s not as suited to handling content meant for the web seeing as the internet wasn’t as prominent back when the format was invented. It’s still a fairly common variable-resolution raster file type although not as common as JPEG, GIF, BMP, and PNG.
Here are a few facts about TIFF:
– TIFF files are typically very high quality. You’ll see a lot of conversion programs recommending that you scan your documents in TIFF for the best results. TIFF files are staples for most image processing programs.
– Due to their high quality, TIFF images are also typically larger in size than their JPEG and BMP counterparts. They can, however, be easily compressed if needed.
– Although usually easily handled by most programs, TIFF also allows different applications to add their own extensions to its images. Most extensions will be handled by most applications however, so this isn’t anything to worry about too much except during very niche situations.
– The baseline TIFF images include black and white, gray-scale, palette, and RGB, the typical color modes for most printed media. Common extensions added onto TIFF images also allow it to handle CMYK images.
DGN
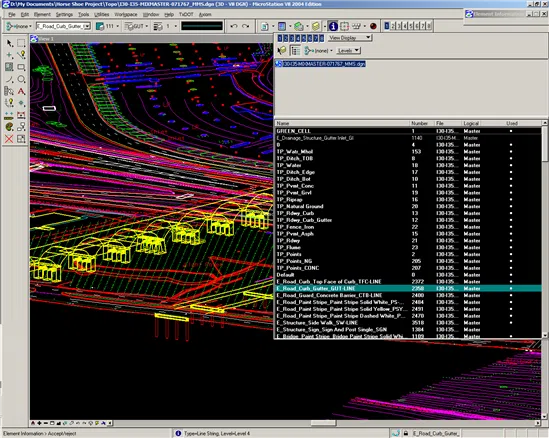
Typical DGN file Source
The DGN file format – which stands for Design – is a term for CAD file formats that run on CAD programs developed by Bentley Systems, Interactive Graphics Design System (IGDS), and Microstation. Like other CAD file formats, DGN files are used in the creation of digital drafts for engineering projects, architectural designs, infrastructure and civil works, plant design, and shipbuilding. It’s a competing format to the more common DWG, a CAD file format by Autodesk.
Here is some information on DGN:
- Intergraph developed the Intergraph Standard File Formats specification (ISFF) back in the 1980s. This type of DGN file is known as Intergraph DGN or sometimes as V7 DGN.
- Bentley Systems then created the V8 DGN format when the company updated the ISFF DGN format back in 2000 and created a version that has all the capabilities of DGN up to that point with a modified internal data structure.
- It wasn’t until 2008 that Autodesk and Bentley Systems contracted to exchange software libraries to improve interoperability between the DWG and DGN formats.
TIFF and DGN compared to other formats
The TIFF file type is recommended for specific scenarios – mainly when a user needs a lot of good image quality and also has the computer space to handle large images. If you’re working with technical drawings that need a high degree of accuracy, there aren’t a lot of better options out there.
To be short, when you’re looking to scan a hard copy of a drawing to use as a source image for raster-to-vector conversion, always try to stick to TIFF.
As for DGN, although it saw some use back in the ‘80s until the later 2000s, the DGN file format has seen less and less use in today’s AEC CAD landscape. Although most programs will, by default, be able to handle DGN files, it is almost always recommended to convert any DGN files you have into the more common DWG and DXF file formats. And even when you’re using software that specifically uses DGN files, this software will, by CAD standards, also be able to handle DWG and DXF files.
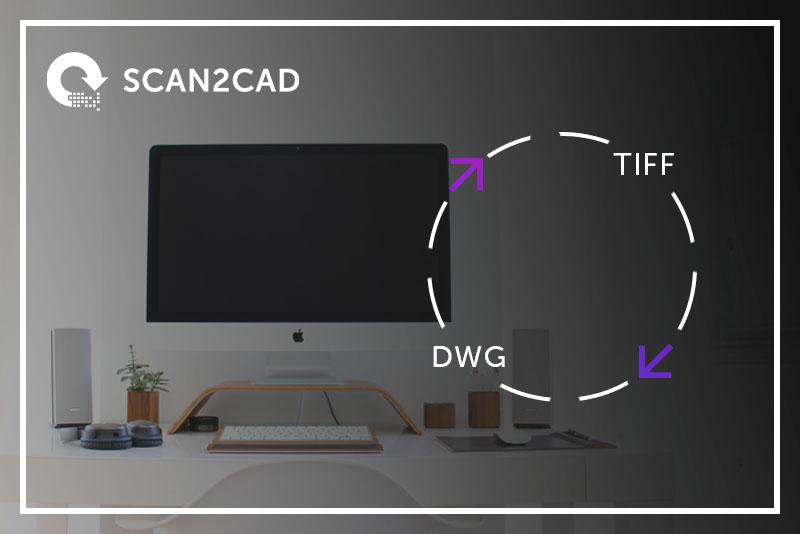
In conclusion, when trying to convert TIFF to DGN, you’re best off trying to convert TIFF images into DWG or DXF files.
Raster to Vector Conversion
When we’re talking about raster files, we’re referring to image files that have resolutions and are defined by pixels. TIFF files are examples of raster images. Vector files are files that contain editable and readable geometric data, such as DGN files and DWG or DXG files.
The files that you work with on CAD programs are vector files so you’ll be looking to convert most reference raster images into vector formats for an easier time to import and edit them on your software.
One method of doing so would be to manually trace over the raster image using your program’s sketch tools. Simply import the raster image and then use it as an underlay while you use the drafting tools to sketch over and recreate the raster image underneath.
This usually takes time and effort to do and when you’re working in high-stakes, deadline-based industries such as architecture, engineering, and construction, these two things are commodities. So alternatively, you can try to convert these raster images into vector files automatically.
There are plenty of CAD programs out there that have functions for that, but it’s not always the easiest to finetune or edit. The best option for automatic conversions will always be third-party conversion software like Scan2CAD.
Converting TIFF to CAD with Scan2CAD
- Pick your source image. With any conversion process, the number one factor that determines the success of the conversion process is the quality of the source image. TIFF files are recommended for the amount of detail and clarity in each image, so keep that in mind when checking your scanner settings.
- Clean up the image. You can click on the Clean image button at the top left of the page and edit some settings to make sure your raster image is as clean as possible for the conversion process. Make sure to turn the image black and white if you can and erase any speckles or holes you might find.
- Edit the conversion settings and run the conversion. Click on Convert image button next to Clean image and edit the conversion settings there. We have a bunch of tutorials on this topic so feel free to peruse the site for our guides and videos. Click on Run to generate a preview of your chosen conversion settings and click on OK when you’re happy with the preview.
- Do any final minor edits. Although Scan2CAD is mainly for raster-to-vector conversion, it does have some minor raster and vector editing tools. If you see some stray vector lines that you want to erase or some text that didn’t convert properly, you can use this step to make your final minor changes.
- Save the image and do any last major edits on your preferred CAD software. Scan2CAD won’t work as an alternative to dedicated CAD editing programs, so for any large or complex edits, you’ll have to work on your own CAD program. Just save the file you’ve converted by clicking on File > Save as… > Vector and picking out a name and file destination.
Here’s a video of the process
