
Autodesk Revit is a building information modeling (BIM) software specifically designed for AEC professionals. This includes architects, engineers, construction professionals, and space designers. Although commonly known to be owned by Autodesk, Revit was actually developed and released in 1997 by Charles River Software which was rebranded as the Revit Technology Corporation in 2000. It wasn’t until 2002 that the company was acquired by Autodesk.
One of the major players in the BIM software industry, Revit gives its users the freedom to design a building model in 3D, view and annotate aspects of the model in 2D with standard CAD drafting tools, and access and edit comprehensive and live building model information in the form of schedules and tabulated databases. The software’s holistic approach to building design also includes the building’s structures, various engineering components, and even the planning and tracking of the building’s lifecycle – from design conception to construction by phases and even continued maintenance or planned demolition.
Seasoned users of the software will attest to its usefulness. Revit is amazingly efficient in the design, drafting, and modeling of construction projects. And with any CAD and BIM design workflows, there will always be a need to use reference images as the starting off point of the process. As such, it’s important to touch upon exactly how to import images into Revit.
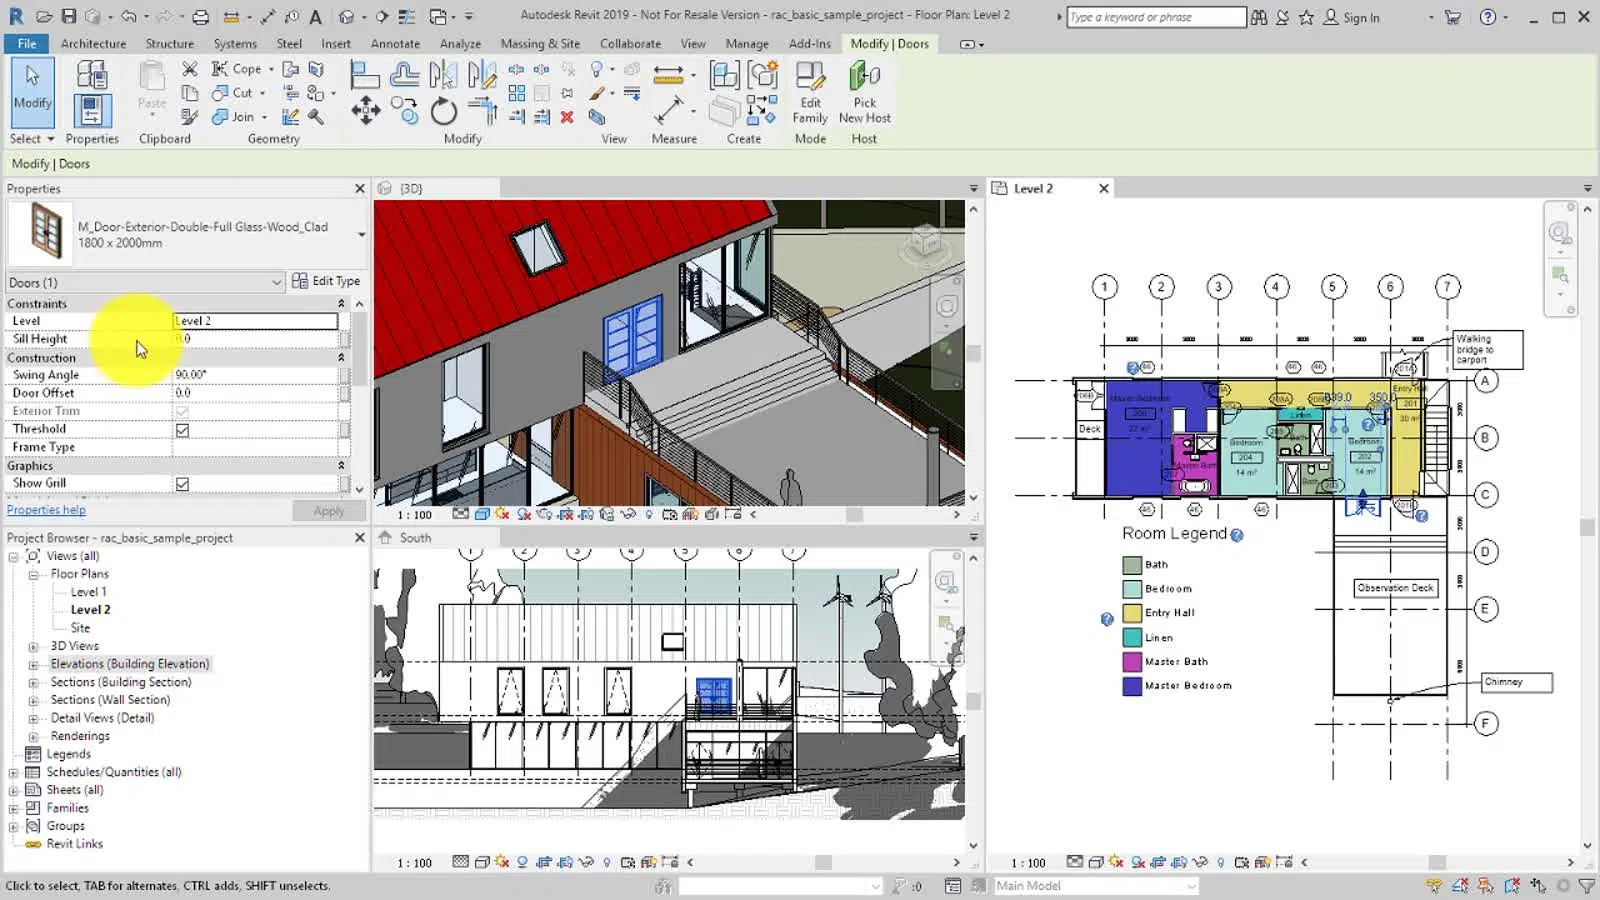
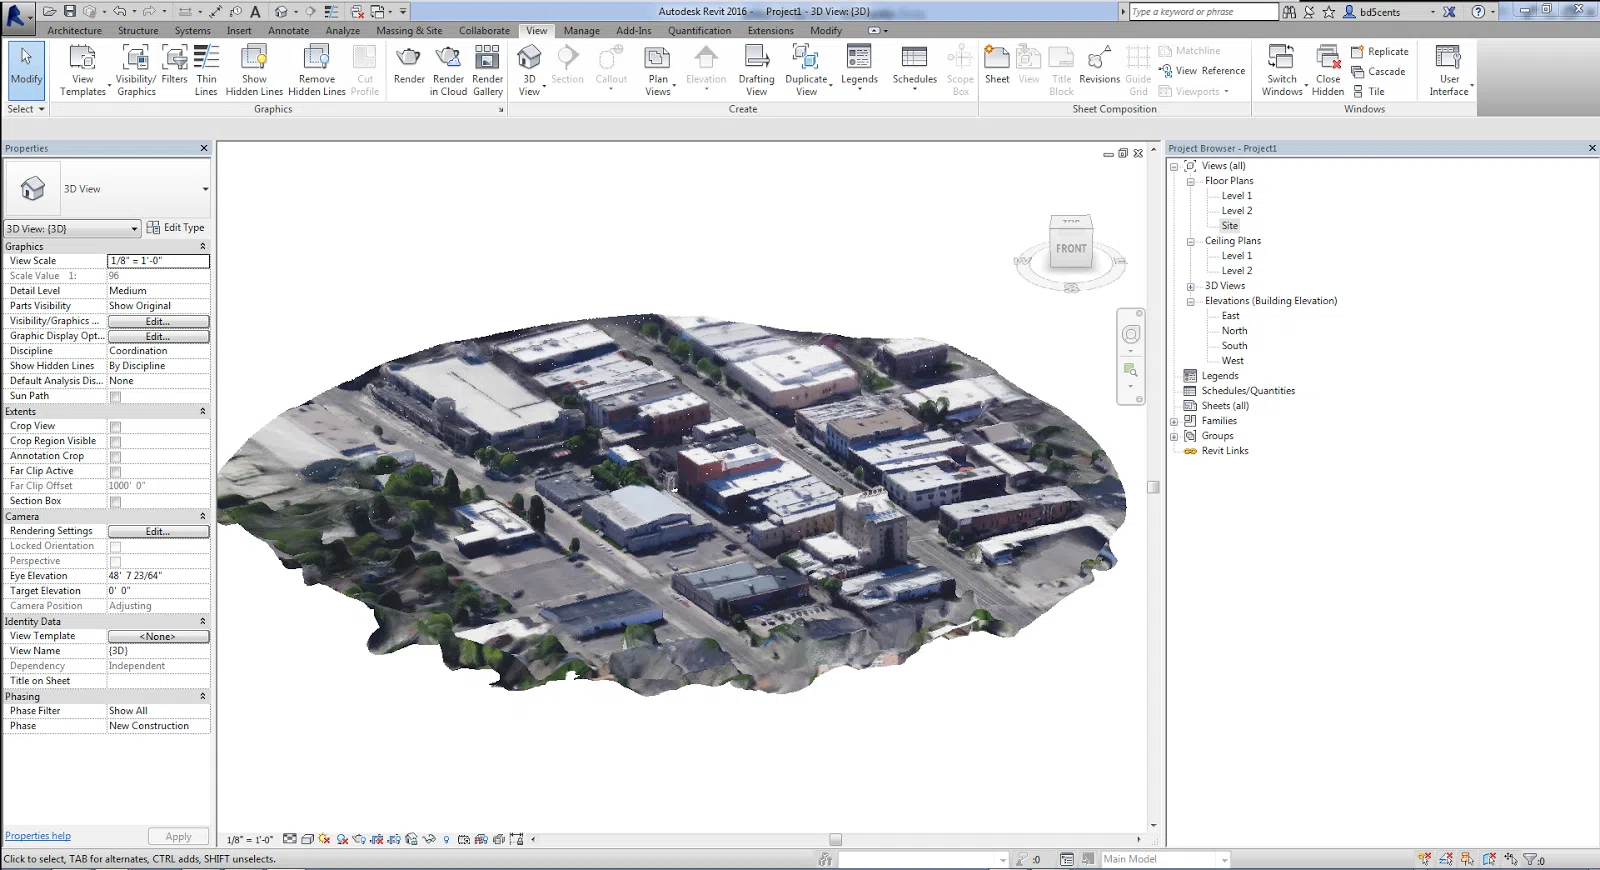
Autodesk Revit user interface Source
The importing process isn’t complicated per se, but it is tricky to figure out how to import the image and then convert it into a usable, editable Revit file. More so, it’s hard to plan out the most effective and efficient way to go about all that.
Most users will opt to import the image and then draft or trace right over it – the manual conversion method. This process takes time and effort to do, which is especially true for large, complex images such as complicated floor plans or detailed elevations. For those looking to save a few hours of labor, automatic conversion software would be the way to go. In this article, we’ll go through all the most efficient ways to import images into Revit and make them usable for modeling.
Table of Contents
Video Tutorial: Converting an image for Revit
In this tutorial, we use Scan2CAD to convert an image for Revit.
If you’d prefer a deeper look into the process of converting images to Revit you can keep reading…
Image types for Revit
Let’s do a quick run-through of image types before we get into the details of image importing in Revit. There are raster images and vector images. We’ll be focusing on raster images in this blog since it’s by far the more complex image to convert and use on Revit.
Raster images, otherwise known as bitmap images, are files made of clustered, colored pixels. The typical raster file formats are the well-known JPG, PNG, GIF, TIFF, and BMP file formats. Vector files will have images that are made of formulas converted into images. PDF files can also have raster images but that file format is unique such that it can contain both raster and vector elements.
As opposed to pixels that will be restricted by the file’s resolution, vector images will have the same quality regardless of scale or zoom level. In fact, the standard CAD file formats such as DWG and DXF are all examples of vector files. As such, Revit can readily read and handle these CAD-standard vector file formats.
The goal of image conversion for Revit is to take any raster image and turn it into a vector file that can readily be used on Revit.
How do you import raster images into Revit?
As mentioned before, when importing images into Revit, you can choose either to convert the image into a Revit model manually or choose to use an automatic conversion program.
Option 1: Manual trace
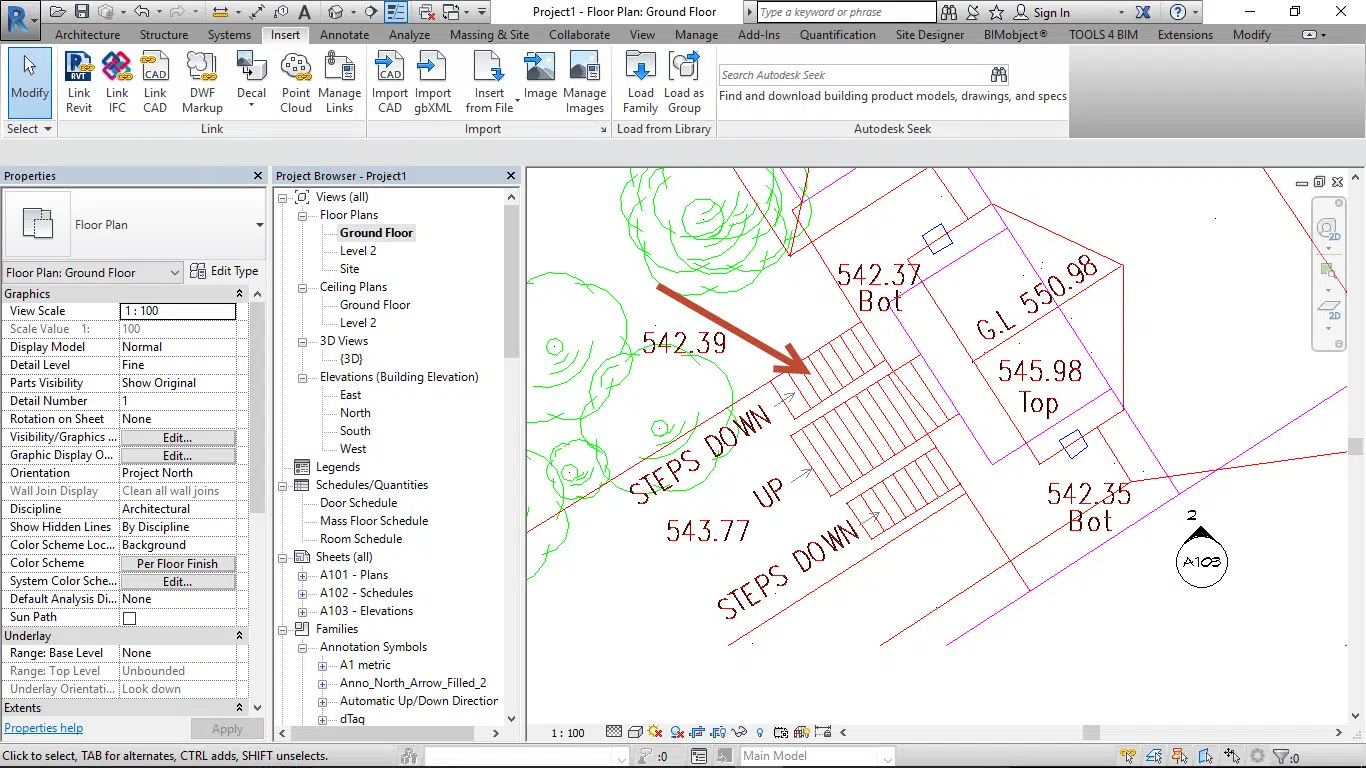
Raster image in Revit Source
| Pros | Cons |
| Detailed | Tedious |
| Straight-forward | Time-consuming |
| Minimal learning curve | Prone to human error |
Manual tracing is the tried and true method of encoding a raster file or image scan into a CAD and modeling program. It can be fairly accurate and it lets users have an intimate understanding of the model they’re building. However, the process is undeniably tedious and could last from hours to days of work depending on the complexity of the original image.
- Navigate to the view plane in the Revit file that you want to insert the image into, i.e. if you’re working with an image of a site plan, navigate to the floor plan or site plan view on the same reference plane as the image.
- While on the Contextual bar for the Insert tab on the Ribbon bar, click on Image. A window will open up – navigate and select the image that you want to insert. Place the image on the view plane.
- Work on checking the scale of the inserted image. Use a Model Line to trace over a part of the image with a known measurement; while using the Model Line tool, you’ll see the exact current measurement of the building element. With some quick math, you’ll find that the current scale of the image will be the known measurement divided by the current measurement.
- With the calculated scale value in mind, click on the image and locate and click on the Scale tool up in the Contextual bar. The button looks like a smaller black square inside a larger blue square. Set the Numerical scale at the number calculated from the last step.
- From there, use the Revit tools you know and love to trace over now correctly-scaled image.
Option 2: Conversion software
Vector file in Revit Source
| Pros | Cons |
|
Fast and automated |
Separate third-party software required |
| Accurate | Output quality depends on initial source image quality |
| Less labor-intensive | Some learning curve |
Revit isn’t a program that has a built-in raster-to-vector conversion tool. A great third-party option for this is Scan2CAD. Scan2CAD is a conversion program that readily deals with all standard raster and vector files and can produce all the industry-standard vector file formats at the user’s discretion. Automatic conversion software is the way to go if the tedium and labor of manual tracing can’t be afforded.
- Open up the raster image to be converted on Scan2CAD. Make it suitable for conversion by cleaning it up with edits first. The Clean Image button at the top left has the Threshold option to turn the image black and white. Additionally, there are other tools in the Clean Image menu that can help with cleaning up the image.
- For any other minor edits such as erasing leftover speckles or connecting disjointed lines, the editing tools at the left of the Scan2CAD interface are versatile and easy to use.
- After the edits are made, the Convert Raster Image button next to the Clean Image button will open up a dialog box for vector conversion settings. Play around with the settings to your discretion and click on Run to generate a preview. Once the preview is satisfactory, click on OK to run the conversion.
- At this point, the same editing tools to do minor edits to the initial raster image can also be used for the converted vector image.
- The last step is to click on File > Save As > Vector. Find the destination folder you want to save the converted vector in, choose a name and file format (DWG and DXF work best for Revit), and save.
- Follow all the steps detailed in the manual tracing method but choose Link CAD instead of Image under the Insert bar.
Final thoughts
At the end of the day, which method of image importing works best will depend on the users and the circumstances. But since conversion technology has become more and more advanced, accuracy has become less of an issue and automated conversion will almost always be the fastest and most efficient way to go about importing and converting images into Revit.
This is where Scan2CAD comes in – the program is perfect for handling any files and images you may want to use on Revit.