Here at Scan2CAD, converting from raster to vector is what we do. After all, vector file formats are essential to CAD software. Without their editability, scalability and potential to attach reams of important data, CAD simply would not be the same. In certain instances, however, raster images can still play a role here—and there may be times when you need to know how to insert an image into a CAD drawing.
In this guide, we’ll show you how to insert a raster image into your CAD drawings in AutoCAD, one of the most popular CAD software packages on the market. We’ll also discuss some of the occasions when it’s worth attaching a raster image to your CAD drawings, and when it’s best to convert to vector instead.
Why would you insert a raster image into a CAD drawing?
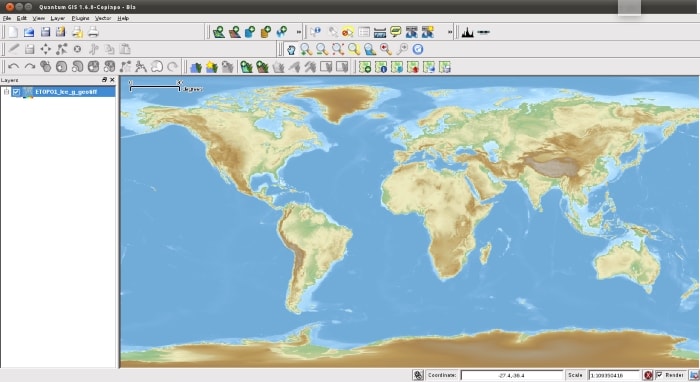
GIS programs may overlay vector data on raster backgrounds
If you’ve ever followed the Scan2CAD blog, you’ll know how frequently we extol the virtues of vector files. Unlike raster images, their every element is individually editable. This additionally allows users to attach data to every object within the image—a property which makes vector files invaluable in fields such as engineering and architecture.
Nonetheless, the virtual world of CAD represents the real world around us—and raster images can do a better job of representing that reality than vectors. For this reason, inserting a raster image as a backdrop can sometimes be a smart choice. This is very common in fields such as GIS, where a raster map is overlaid with vector data. Attaching raster images to a CAD drawing may also have illustrative and branding purposes, including using a company’s logo as part of a document.
In some instances, attaching a raster image is actually the starting point to converting to vector. That’s because it’s possible to use certain CAD software—such as DraftSight or Vectorworks—to manually trace over a raster image with vector elements. (There are faster ways to complete this conversion process, though—we’ll come to that in a minute!)
To attach or to convert?
So, we’ve established that raster images may have their uses in CAD. But when exactly should you keep such an image in its original format, and when is it better to vectorize it?
Firstly, if you’re intending to edit your image in any way, vectorization is the way to go. That’s because raster images simply don’t support editing in the same way vector formats do. Converting to vector allows you to edit each individual element in your image, including adding or changing text objects.
Vectorization also helps to simplify your file. Take the example of attaching a map as a backdrop in a GIS application. It’s possible to vectorize a raster image of a map, which you can then use as a layer in your vector image. This gets rid of the hurdle of ensuring that you’ve included all the relevant raster images in your folder when sharing with a colleague, as well as eliminating the risk of a dreaded error message from AutoCAD. It also has the advantage of eliminating the often huge file sizes that come with detailed raster images.
It’s also worth noting that support for raster images within CAD applications can be spotty. While market-leading software AutoCAD does support the attachment of raster images, not all programs can claim the same. This means that, when collaborating with other designers and professionals, you can’t be sure that everyone involved in a project will be able to view your CAD drawing as intended.
All of this is to say that, while it’s possible to use raster images for certain purposes within CAD, vector is, more often than not, the best solution. We’ll now take a look at the two possible pathways from here: inserting an image into a CAD drawing, or converting your raster image to vector.
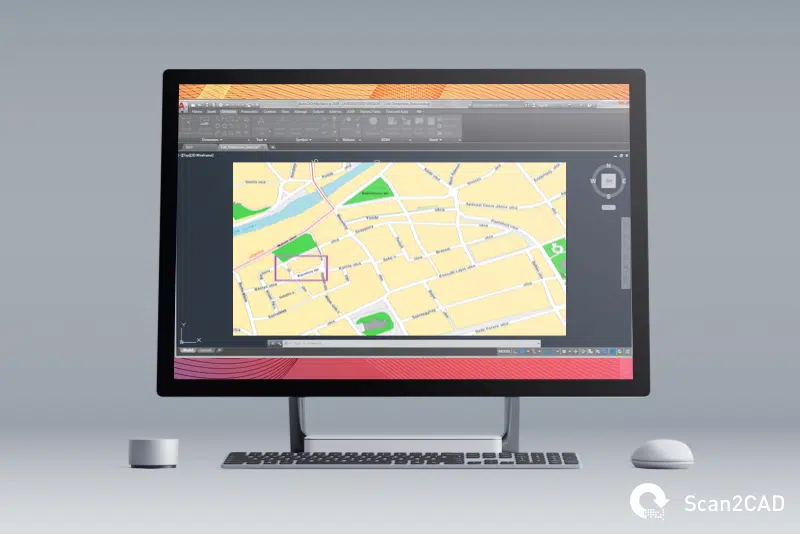
How to insert an image into AutoCAD
![]()
Let’s start things off with option one: how to insert an image into a CAD drawing in AutoCAD. We’ve chosen to focus on AutoCAD due to its position as one of the market leaders in CAD. However, it’s also worth noting that some other CAD programs, such as Vectorworks, also allow users to import image files.
The exact process of inserting an image varies depending on the exact software you’re using. We’ll take a look at how to do so in the most recent version of AutoCAD, as well as in AutoCAD Map 3D.
AutoCAD 2023
- Click on the Insert tab > References Panel > Attach. A Select Image File dialog box will open.
- In the dialog box, you can either choose a file name from the list, or use the File Name box to enter the name of the image file you wish to insert.
- You can then use the Image dialog box to specify insertion point, scale or rotation via one of these two methods:
- Select Specify On-Screen, which allows you to use a pointing device to select the location, scale or angle at which you want to insert the image.
- Alternatively, you can enter numerical values into the Insertion Point, Scale and Rotation fields, clearing the Specify On-Screen option.
- Click Details to view the unit of measurement for the image.
- When you’re satisfied, click OK.
AutoCAD Map 3D
- Start by navigating to the Home tab > Data panel > Insert an Image.
- In the Insert Image dialog box that appears, choose the folder containing the image or images you wish to insert.
- Use the Files Of Type box to choose the file format of the images you wish to insert.
- Select the images to be inserted from the list.
- Choose Modify Correlation to view or modify image correlation data.
- Click Open.
- If you haven’t selected Modify Correlation, or are inserting multiple images, AutoCAD Map 3D will use default correlation data. It searches for this in the following order:
- World file
- Resource file (.res)
- Tab file (.tab)
- Image file
- Settings in the Raster Extension Options dialog box
- The Image Correlation dialog box will appear if you have selected Modify Correlation. You will be able to view the image frame, which shows where the image will appear within your CAD drawing.
- If you haven’t selected Modify Correlation, or are inserting multiple images, AutoCAD Map 3D will use default correlation data. It searches for this in the following order:
- If you wish to insert the image using the given settings, click OK. Alternatively:
- You can also specify a different correlation source using the Correlation Source list.
- Change the insertion point, rotation or scale by typing numerical values into the given boxes.
- Additional options include using the Image Correlation dialog box to resize or orient the image; using the Insertion tab to define insertion point, rotation and scale on-screen; and using the Source tab to specify density units.
- If everything looks good, simply click OK to finish up.
- When inserting certain supported images, Autodesk recommends using the Data Connect option. Doing so offers greater control over options such as styling.
Converting a raster image for use in CAD
Decided on converting your raster into an editable vector? Smart move! You know the benefits by now—but how exactly do you go about vectorizing an image?
First off, it’s worth remembering that raster and vector files are completely different in their composition. A raster image is simply a grid made up of colored pixels, while a vector image is made up of individual objects, each of which has its own properties. As such, the only way to convert from one to the other is by a process of tracing over the raster image with vector elements.
This doesn’t necessarily mean you’ll have to spend hours with a graphics pen yourself, though. You’ve got options here: manual and automatic tracing. We’ll quickly run through the pros and cons of each.
Manual tracing
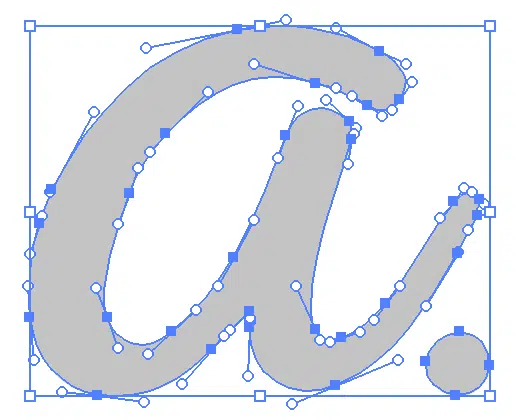
We’ve already alluded to the possibility of manually tracing your raster image. This typically involves importing your raster image into image editing software that also supports vector elements, such as Inkscape. An alternative option is to simply use CAD software. This can be handy if you’d prefer not to have to install any additional programs, but you’ll need to be sure that your chosen package supports raster imports!
Once your image is open, you’ll then be able to create a vector layer over the top and start drawing. You’ll be able to control which vector elements represent which parts of the image, and working with even the blurriest or dirtiest of raster files won’t be an issue. After all, as long as you can tell what’s in the image, you can produce a faithful vector reproduction of it.
The downside, however, is that manually tracing your image will take time—a lot of it. If you’re working with complex images, or have multiple images to convert, you’ll need to think very seriously about the cost effectiveness of using so much labor time on tracing. Thankfully, there’s another option on the table that can help you to get your conversion sorted in a matter of seconds: automatic tracing.
Automatic tracing
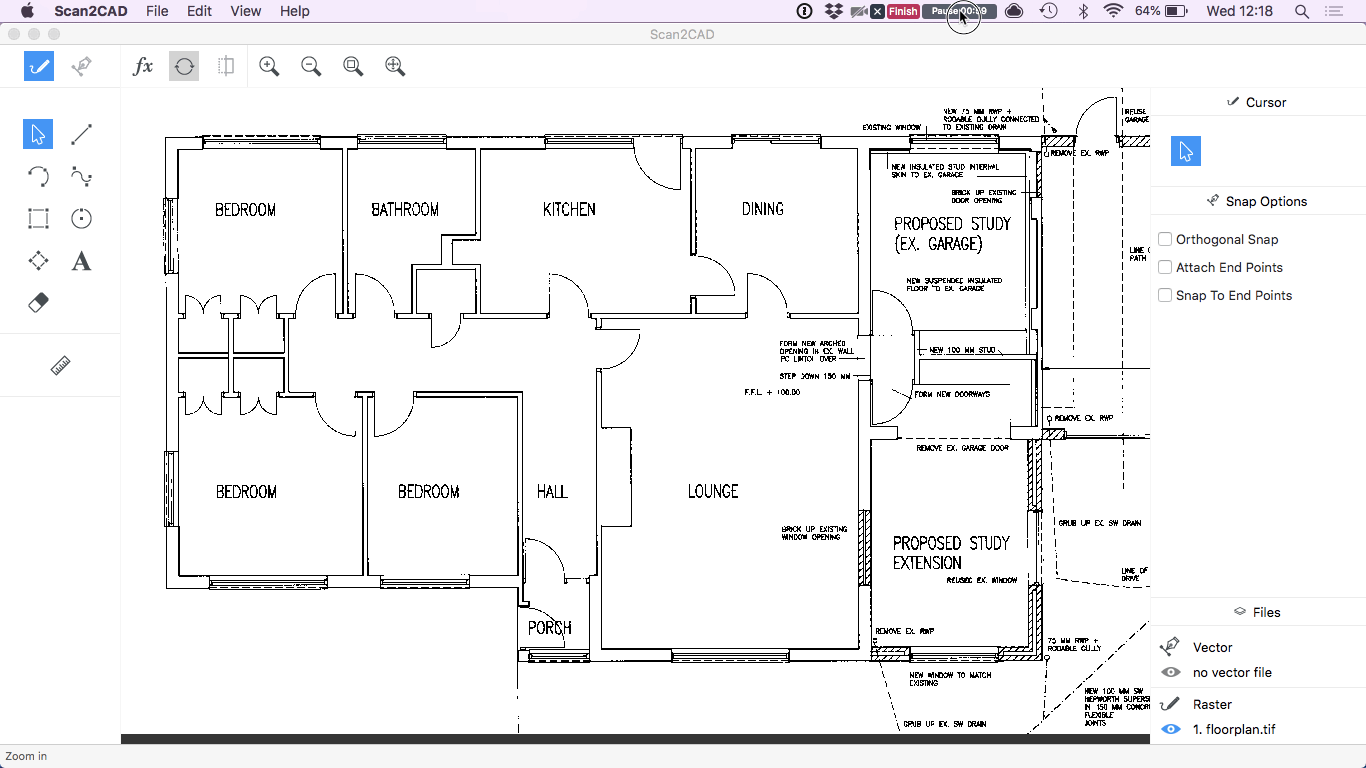
Automatically tracing a technical drawing floorplan using Scan2CAD
Tracing an image automatically can dramatically reduce your workload, completing a day’s worth of tracing in seconds. Advances in vectorization software mean that the process can now offer very accurate results, with a professional output ready in no time.
This doesn’t mean you’re completely removed from the process, though. In order to achieve the best possible vector output, you’ll need to ensure that the raster image you provide is simple and clean. We’ve created a useful raster quality checklist with tips on how to improve your image so that it’s ready for conversion. In short, though, you should be aiming for an image which:
- Has as few colors as possible—monochrome (black and white) is best
- Is crisp, clear and high-resolution, with no overlapping elements
- Has no broken, fuzzy or hairy lines
Once you’re satisfied with the quality of your image, the actual conversion process couldn’t be simpler. Get Scan2CAD, and all you’ll have to do is import your raster image, select whether to convert objects, text or both, optimize your settings, and click convert. From here, your professional-quality vector image will be just seconds away.
