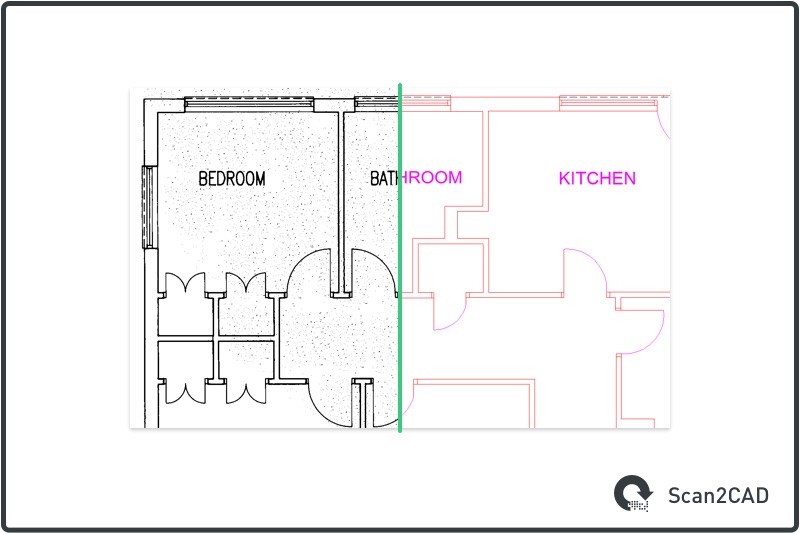
You’re likely familiar with the BMP format, which was developed by Microsoft to serve as the native image format for Windows. It’s also handy for storing 2D images, and many common image editors support the format. If you’re looking to use a BMP file in CAD, however, you’ll run into a few problems. That’s because BMP is a raster file format—which is unsuitable for use with CAD software.
So, what’s an engineer or designer to do? Well, the best route is to vectorize your BMP files. In this article we’re going to show you how to achieve this by converting them to the DWG format. This will make your images more versatile and easy to edit with CAD software. It’s not too difficult to achieve either. In fact, with Scan2CAD, the process is made quick and simple.
Note: If you are looking to convert your BMP files to other vector formats, read this article which explains how Scan2CAD can help.
Table of Contents
What Is BMP?
![]() BMP stands for Bitmap (you’ll sometimes hear bitmap files referred to as Device Independent Bitmaps, or DIBs). It is the native image file format of Windows, which is why it’s incredibly common for computers to store images as BMP files. The files are usually uncompressed, making them quite large in size.
BMP stands for Bitmap (you’ll sometimes hear bitmap files referred to as Device Independent Bitmaps, or DIBs). It is the native image file format of Windows, which is why it’s incredibly common for computers to store images as BMP files. The files are usually uncompressed, making them quite large in size.
There are some benefits to using BMP files. First, as they don’t use compression, you won’t lose quality by saving an image as a BMP file. They also allow for a varied color palette—though this can make them tricky to print.
However, there are also some downsides. Firstly, as a raster file, BMP files are made up of pixels. This means that their image quality will suffer when any attempt is made to re-scale them. Zooming in will result in pixelation and a loss of definition. Even compared to other raster files, however, BMP files have problems—most notably their huge file size, which makes them undesirable for web use.
Meanwhile, a major problem for those dealing with BMP files in an industry context is that they cannot be edited using CAD software. In such scenarios, you’ll need to vectorize your BMP image.
Why Choose DWG?
![]() DWG is actually another native file format, but this time it’s for AutoCAD. The name is a shortened version of ‘drawing‘, and it is a vector rather than a raster file format. As such, it is made up of coordinates rather than pixels. This means that it offers high image quality at any scale whilst maintaining a small file size. Additionally, DWG files store vector image data and metadata in binary form, helping reduce file size further.
DWG is actually another native file format, but this time it’s for AutoCAD. The name is a shortened version of ‘drawing‘, and it is a vector rather than a raster file format. As such, it is made up of coordinates rather than pixels. This means that it offers high image quality at any scale whilst maintaining a small file size. Additionally, DWG files store vector image data and metadata in binary form, helping reduce file size further.
As a vector format, it’s easy to edit individual elements of a DWG file. You can also attach metadata to these elements, making them suitable for use across a wide range of design and engineering industries.
When comparing DWG to other formats, though, there are some downsides. Firstly, DWG was designed to be compatible with AutoCAD. Many CAD/CAM applications choose not to support DWG files, instead they prefer the more ‘open’ DXF format. It’s also worth taking this into consideration if you intend to share your file, as your collaborators may not be able to view or edit it.
Nonetheless, it is possible to view DWG files without AutoCAD. Meanwhile, if you are an AutoCAD user, then DWG will allow you to take advantage of everything that the software has to offer.
Raster vs. Vector
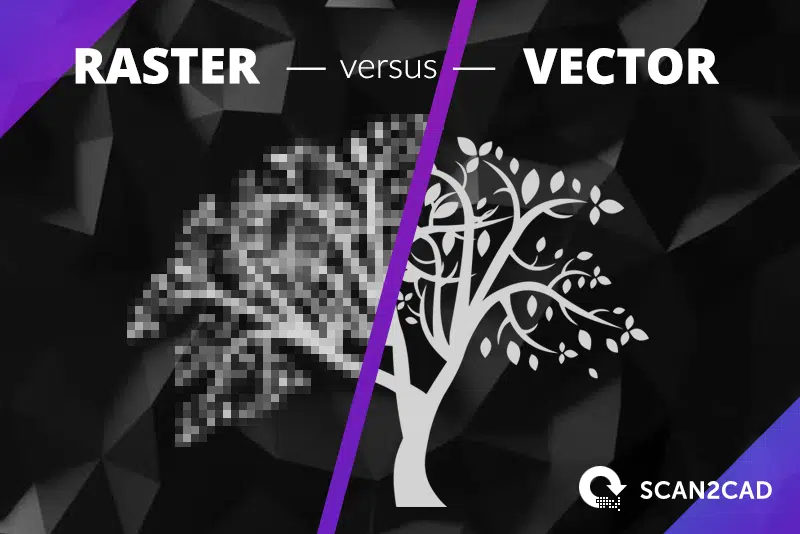
Raster and vector files are both useful in their own way, depending on what you need to use them for. Raster images are a perfect choice for photo-realistic images, and graphics containing many colors. Formats like BMP, JPG, GIF and PNG are also incredibly common, with major web browsers supporting all of these formats. That makes them perfect for sharing with numerous people, as you can rest assured that they’ll all be able to open your image.
However, raster images have some issues. These formats cannot hold the type of graphics required for CAD/CAM. Additionally, it’s not possible to edit individual parts of the image, such as a line or text string.
Vector images aren’t quite as common as raster images, and many vector formats aren’t supported by web browsers. However, they have some important advantages. Firstly, a vector image is made up of mathematical equations. As a result, they won’t suffer from pixelation and will maintain their quality at any scale. Secondly, it’s possible to edit each individual element of a vector image without affecting the rest of the image.
Importantly for the design and engineering sectors, you can also attach data to individual elements of a vector image. This means that, in CAD software, you can specify properties such as scale or building materials. This makes vector formats such as DXF and DWG industry standards.
Convert BMP to DWG
Why convert your files?
If you simply need to view and share an image, then it’s fine to stick with a basic BMP file. However, if you need to edit any of the elements within the image, then vectorization is the way to go. This is particularly important if you want to use your BMP file in CAD software. For CAD purposes, you need to have an editable vector image—BMP just won’t cut it.
A great option for CAD users is to convert BMP to DWG. This is especially useful for users of AutoCAD, which has been a market leader ever since its first release in 1982. After all, what better format to use than AutoCAD’s native format? Don’t fret if you’re not an AutoCAD user, though: DWG files can also be opened and shared by a range of CAD software, so it’s not the end of the world if you don’t have AutoCAD!
When converting from raster to vector, you need to trace your image. There are two options for doing this:
Manual tracing
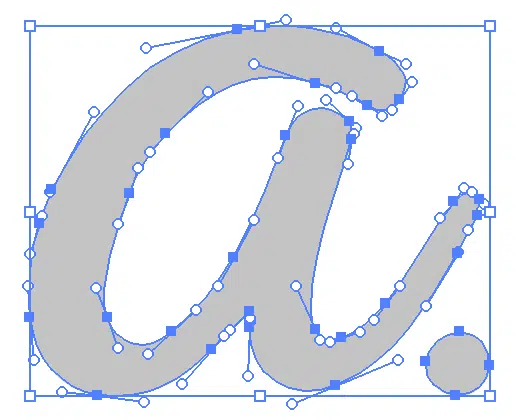
This is the longer and trickier option, but can be useful if you want full control over the process. Manual tracing, as you might imagine, involves drawing vector entities on top of your raster image by hand.
You would start by opening your raster file in some kind of image editing software, such as Illustrator. Then, you would trace the image with a computer mouse or graphics pen, depending on the system you are using.
The manual approach is a good option if you are working with a very simple low-quality image. If your image were faint or blurry, for example, a computer wouldn’t be able to trace over it properly. A human, however, would be much better at making out what was depicted in the image—and, therefore, much better at tracing it, but this process is tedious, very time intensive and therefore an expensive option.
Automatic tracing
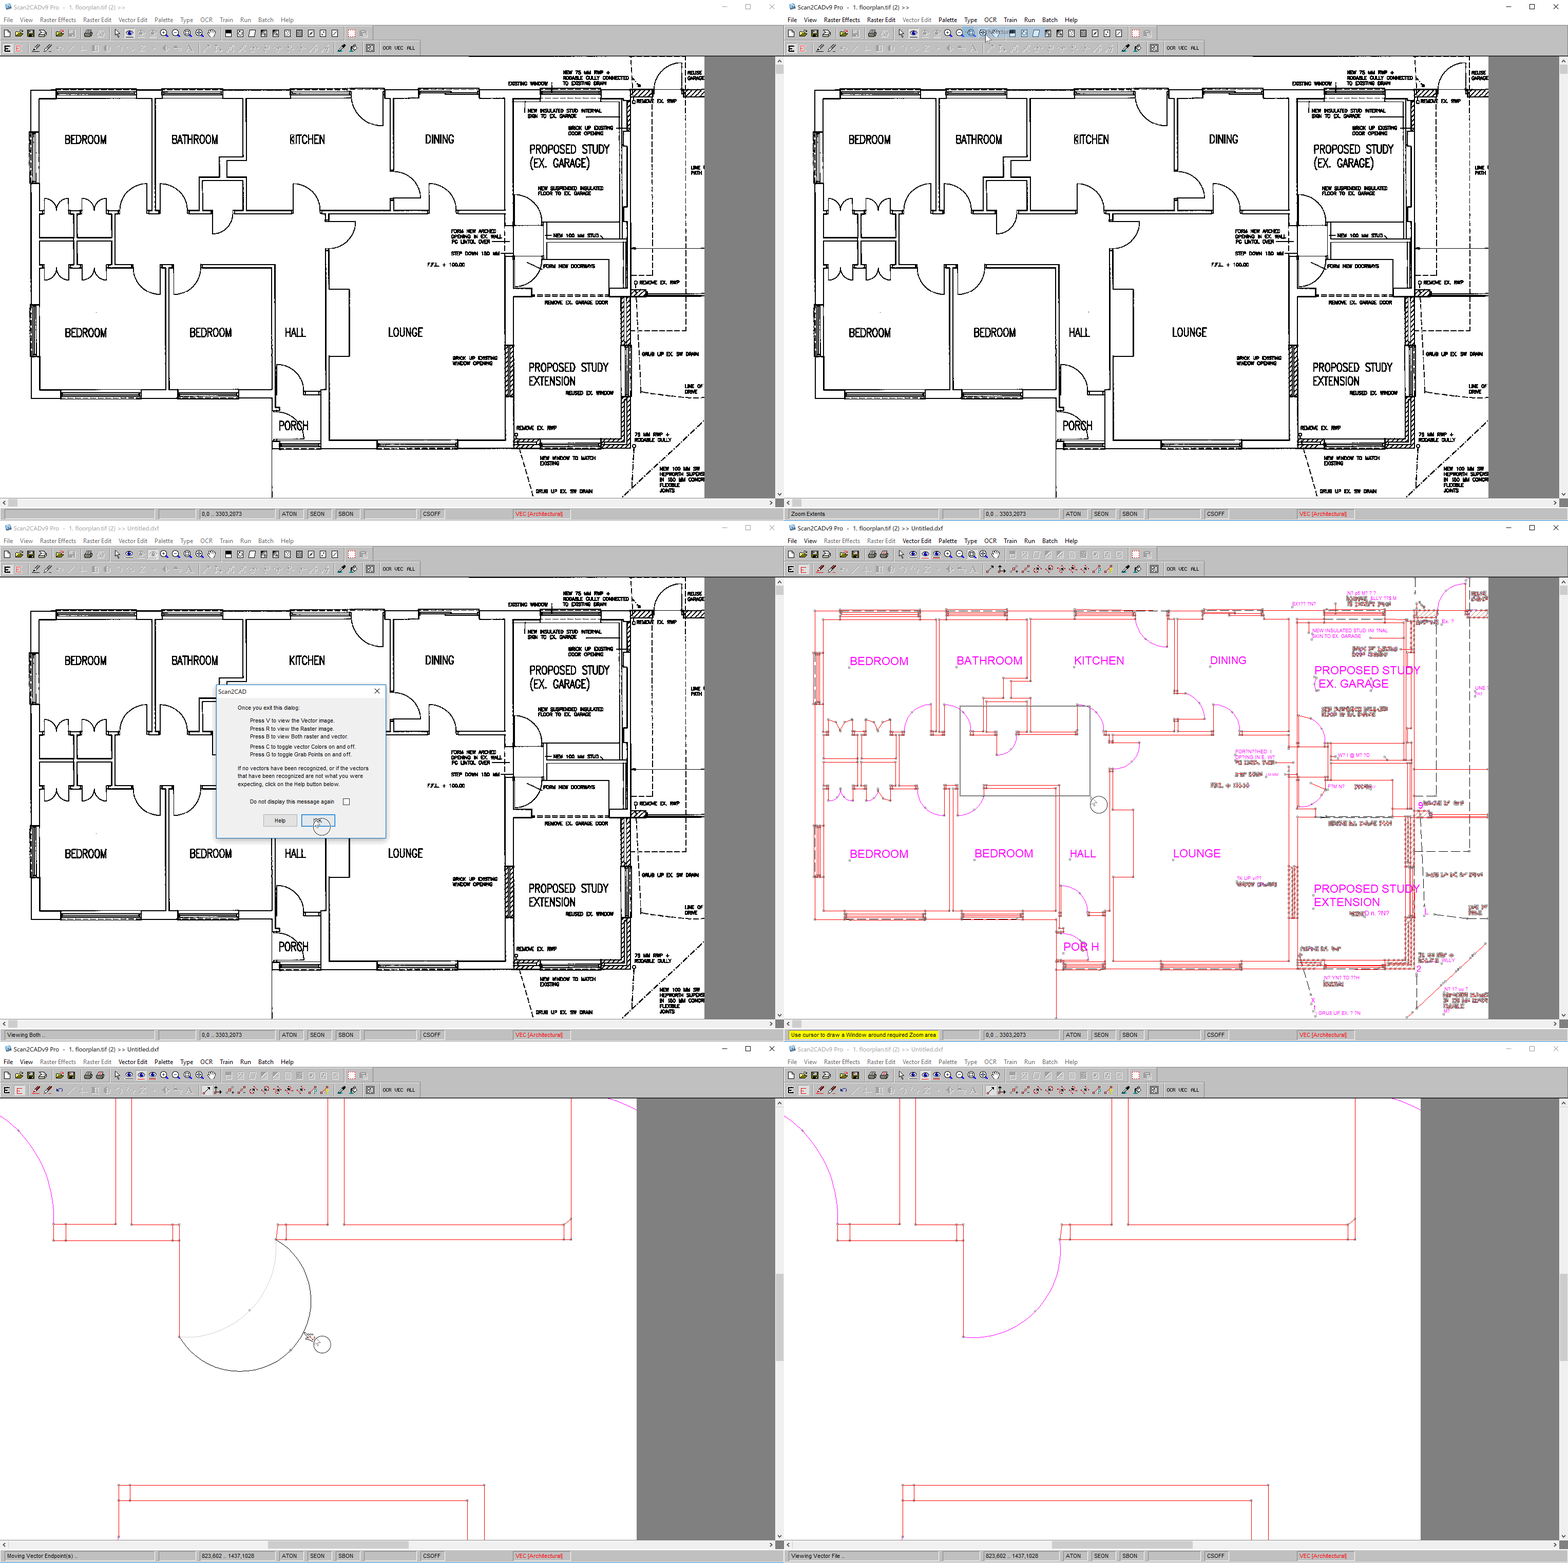
Converting a BMP image to DWG with Scan2CAD
Tracing your image automatically is the most convenient option. Automatic tracing is completed by vectorization software, which uses algorithms to detect lines and objects in a raster image. Once it’s detected these objects, it will trace vector elements over them.
As you would expect, the better the quality of your original raster image, the better the results you’ll get at the end. That’s why we recommend that you consult our raster quality checklist before starting the process. This will ensure that you solve many of the issues that can trip up vectorization software.
Though manual tracing is useful for many purposes, the technology behind automatic tracing is constantly improving, making it ever more reliable. Scan2CAD can produce high quality results in mere seconds, thanks to features such as OCR technology. You can even convert multiple images at once using Scan2CAD’s batch processing tool. With Scan2CAD, you get the best of both worlds: quick and easy conversion, with professional and accurate results.

