Table of Contents
About Onshape
The main things most users will consider when using a CAD program are its functionality and intended use. When it comes to Onshape, users will find that the program is geared for mechanical and electrical engineering uses and does its job exceptionally well.
Its main appeal is its Software as a Service – SAAS – product model, which makes it a program that can readily be used through the internet. There’s no need to download any software as Onshape will be available through any net browser, be it on Mac or Windows machines or iOS and Android mobile platforms and in English, Chinese, or Korean languages.
On importing images
Importing an Image in Onshape Source
As with most other CAD programs, some workflows on Onshape will require users to import reference photos or images onto a file. Users of the program will do this to transfer hard copies or sketches of schematics and even photos of gaskets or cutout templates onto Onshape for either digital archiving purposes or for editing some aspects of the image. Users can output workable linework, CNC or laser-cutter ready vector files, and 3D mechanical models from this process. The key with this type raster to vector conversion is accuracy and – to an equally important degree – efficiency.
There are several ways to turn an imported image on Onshape into workable native linework. The first and often most tedious of these methods is manual tracing. This involves literally importing the image and then using the tools of Onshape to draw over the image and carefully eyeing and following the lines on the import by digital hand. On the other hand, there are software out there that can automatically convert images into importable vector files that you can then open and edit or use directly on Onshape. We’ll be discussing these two conversion methods in detail in this article, but let’s discuss image types first.
Raster and vector images
There’s been a lot of mention about raster and vector images in this post so far which might be confusing for readers who aren’t familiar with the terminology. These are the two major image types that we’ll be trying to import into Onshape.
Raster images, or bitmap images as they’re sometimes called, are images made of colored pixels. JPG, PNG, BMP, and TIF are all file formats that fall within this category. The quality of the image, as well as the file size, will depend on the image’s resolution which indicates the number of pixels in an image. The higher the resolution, the better the quality of the image and the less “blurry” it looks. Sharper and higher-quality raster images make for better source images when imported into Onshape.
Vector images are different such that they’re images made of formulas that dictate the appearance of various lines and shapes found in the image. Instead of relying on clustered pixels to create an image of a black circle, a vector image instead has data that describes the diameter of the circle, its outline, its fill color, etc. The images of schematics that are commonly displayed on CAD programs including the ones generated in Onshape are vector image files. Common file formats that are in the vector category are DWG, DXF, AI, and PDF.
With all this said, vector images are the most convenient types of images that can be imported into Onshape since the lines and colors in the image file will be directly editable when transferred onto the program. Raster images are a bit different such that they can’t directly be usable when imported onto Onshape and some sort of raster to vector conversion has to happen whether that be in the form of manual tracing or with a piece of third-party automatic conversion software.
File formats for Onshape
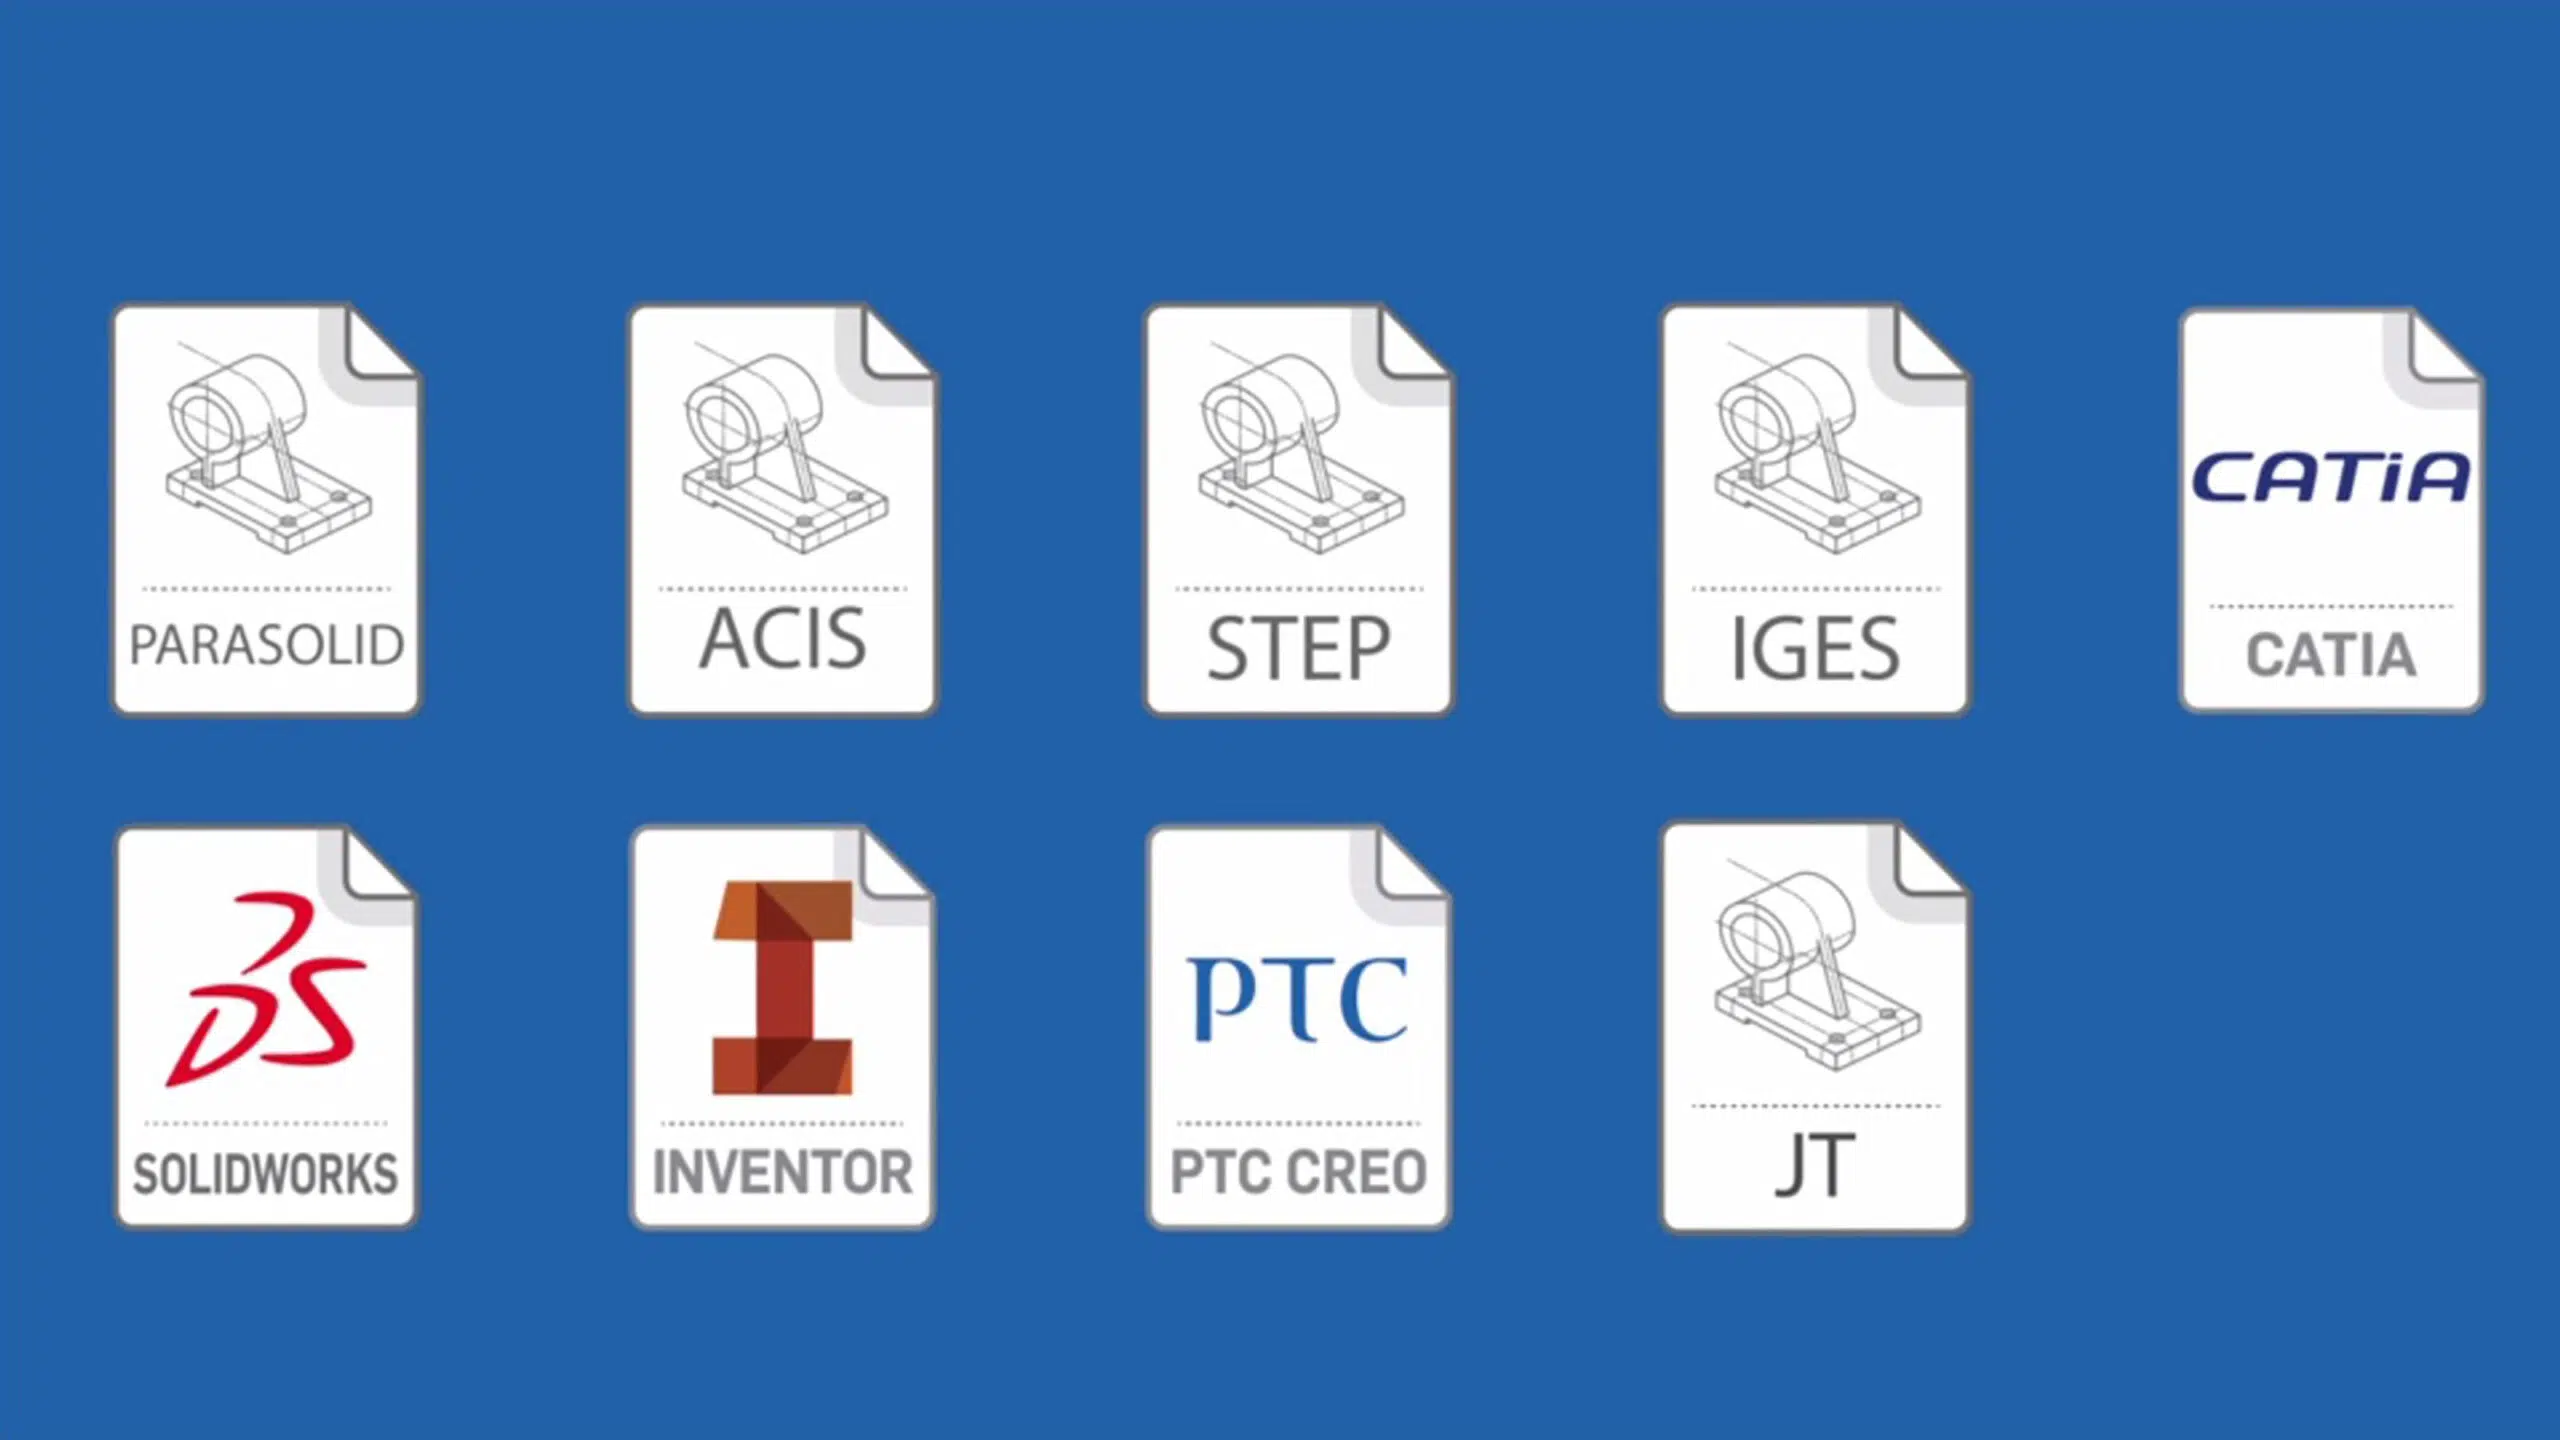
Importable Formats on Onshape Source
For the rest of the post, we’ll be discussing how to go about making a raster image workable on Onshape but before all that, here’s a summary of some of the image formats that Onshape can handle.
|
For Import |
|
|
Raster and Other Non-CAD |
Can be uploaded but not viewed:
|
|
Vector and CAD |
Imported as Parts:
Imported as Assemblies:
Imported as Drawings:
|
|
For Export |
|
|
Raster and Other Non-CAD |
|
|
Vector and CAD |
Exported as Parts:
Exported as Assemblies:
Exported as Drawings:
|
Tracing manually on Onshape
To use a raster image as a basis for a traced sketch on Onshape, you’ll have to upload your image into your Onshape document and then open what you’ve uploaded onto a sketch. You can then sketch geometry with the image as a guide. This can be done on the browser, Android, and iOS versions of Onshape. We’ll be covering the process for the desktop browser, but the import and tracing process for the mobile versions of the software are nearly identical, so you’ll be able to follow along just as easily.
- You’ll want to set the plane on which you’ll be importing the reference image. Like you would start any sketch-based model, click on Sketch. If you’re sketching a plan out, select the Top plane. If it’s a side-view schematic or a front-view schematic, pick the Right or Front plane respectively.
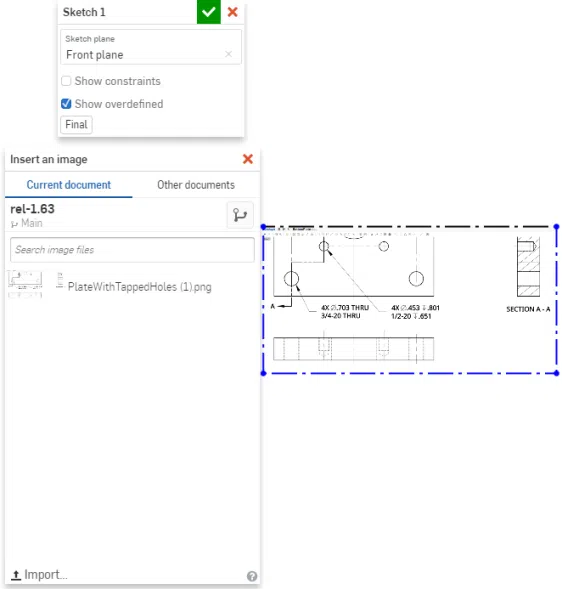
- Click on the insert image icon found at the right part of the Sketch toolbar.
- A dialog box will appear displaying all the images currently uploaded onto the current document. You’ll want to click on Import at the bottom of that dialog and browse for the image you want to insert and use as a reference.
- With the image now showing up on the dialog, click on it and drag it to the position you want to put it in the graphics area while setting its approximate size.
- Resizing: Click on the Dimension tool in the Sketch toolbar and click on the side of the image you want to resize. Again, the aspect ratio (proportions) of the image will be maintained so you only really have to resize just one edge.
- Repositioning: By default, there’s a constraint applied to the lower edge of the image when you insert it. You can reposition the inserted image by deleting the constraint and clicking and dragging the image to its new position.
- Rotating: You can rotate the image by fixing one corner and dragging another.
- Sketch on the image using the tools Onshape has at its disposal. The Spline tool works wonders on tricky curved edges and the Mirror tool will be your best friend when trying to trace over a symmetrical sketch. If you’re planning to turn the sketch into a 3-D model, make sure it’s closed.
- From here on out, you can opt to exit the Sketch and extrude the model to your desired thickness.

Converting and using a vector image
Manual tracing is perfect for quick, simple, one-off image traces, but it starts to get a bit more complicated with larger batches of images or images with greatly complex linework. This is where conversion software can come in handy.
Some 3D modeling programs will have automatic functionality for raster-to-vector conversion but seeing as Onshape isn’t quite there yet, we’ll be looking at what our options are with other software. Several online services exist that offer quick raster conversion but as with all free online services, this comes at the cost of privacy, quality, usability, or a mix of these.
Scan2CAD is a leading piece of software in the conversion industry. 20 years of software development has gotten the program far with OCR capabilities, great usability, and dependable output quality.
Let’s look at how we can use Scan2CAD to deal with image conversions for use on Onshape.
- Start Scan2CAD and open the raster image for conversion.
- Clean up the image and convert the raster image into a vector file. We have tons of tutorial videos to help guide you through the process of conversion using Scan2CAD, so be sure to check those out.
- Open up Onshape. Import the files you have extracted and converted from the PDF. The specific steps to inserting vector images are largely the same as with raster images. You can refer to those steps we’ve discussed earlier on to figure if you’re a bit lost with how to insert images into the Onshape graphics area.
- The one difference with the process of importing raster images is that you no longer have to trace the image. The imported image already comes in readily editable geometry that you can extrude directly after if you so choose.
Final thoughts
Onshape is a relatively new CAD solution that brings something innovative and deeply refreshing to the table. Its workflows and functionalities are great and are continually improving. But as with any software, the output is only as good as the input.
With reference images, there’s not much better than Scan2CAD when it comes to image conversion solutions. If you’re looking for something quick, easy to use, and results-oriented, Scan2CAD is the software for you.
