Table of Contents
Quick start video tutorial: Converting images for Fusion 360
In this video, we use Scan2CAD to convert an image for Fusion 360
Fusion 360 is Autodesk’s integrated 3D CAD solution for the constant woes of disconnected software workflows. The program is one of the best pieces of software out there that has adequately unified the design, engineering, and manufacturing processes into one platform. What you get then is an almost uninterrupted start-to-finish CAD and modeling experience.
Although the program is versatile enough to be a valuable asset in any CAD and modeling program arsenal, it has found a particularly comfortable niche in the hobbyist CNC market. How it found itself there though is a fairly interesting story in and of itself.
The short version of the history of Fusion 360 goes as such: In the late 1990s to the early 2000s, Autodesk was hard at work in developing a then-modern system that could rival other big names in the midrange modeler market. Their main concern was that their best-selling modeling program, Mechanical Desktop, was harder to operate and navigate for anyone not familiar with Autodesk products. A few trial and error attempts later and they eventually came up with the Fusion 360 that we all know and love. In 2014, Autodesk did the most recent big change to the program which is that it integrated the workflow and file management of the program with cloud technology.
The technology of the program has come a long way from its humble beginnings back in 1998. And with all its continuous development, it has come very close to a seamless workflow. But the one thing most Fusion 360 users as well as just CAD and modeling program users can agree on is the difficulty importing images. Placing image files into these programs and then translating them into models can sometimes really serve as a bit of a roadblock to an otherwise straightforward operation.
So in light of that workflow hiccup, we’ll try to tackle the exact steps users need to take to import images into Fusion 360 and turn them into working models. We’ll go through some of the options available and give some pointers to figure out which import and conversion method works best for each type of user.
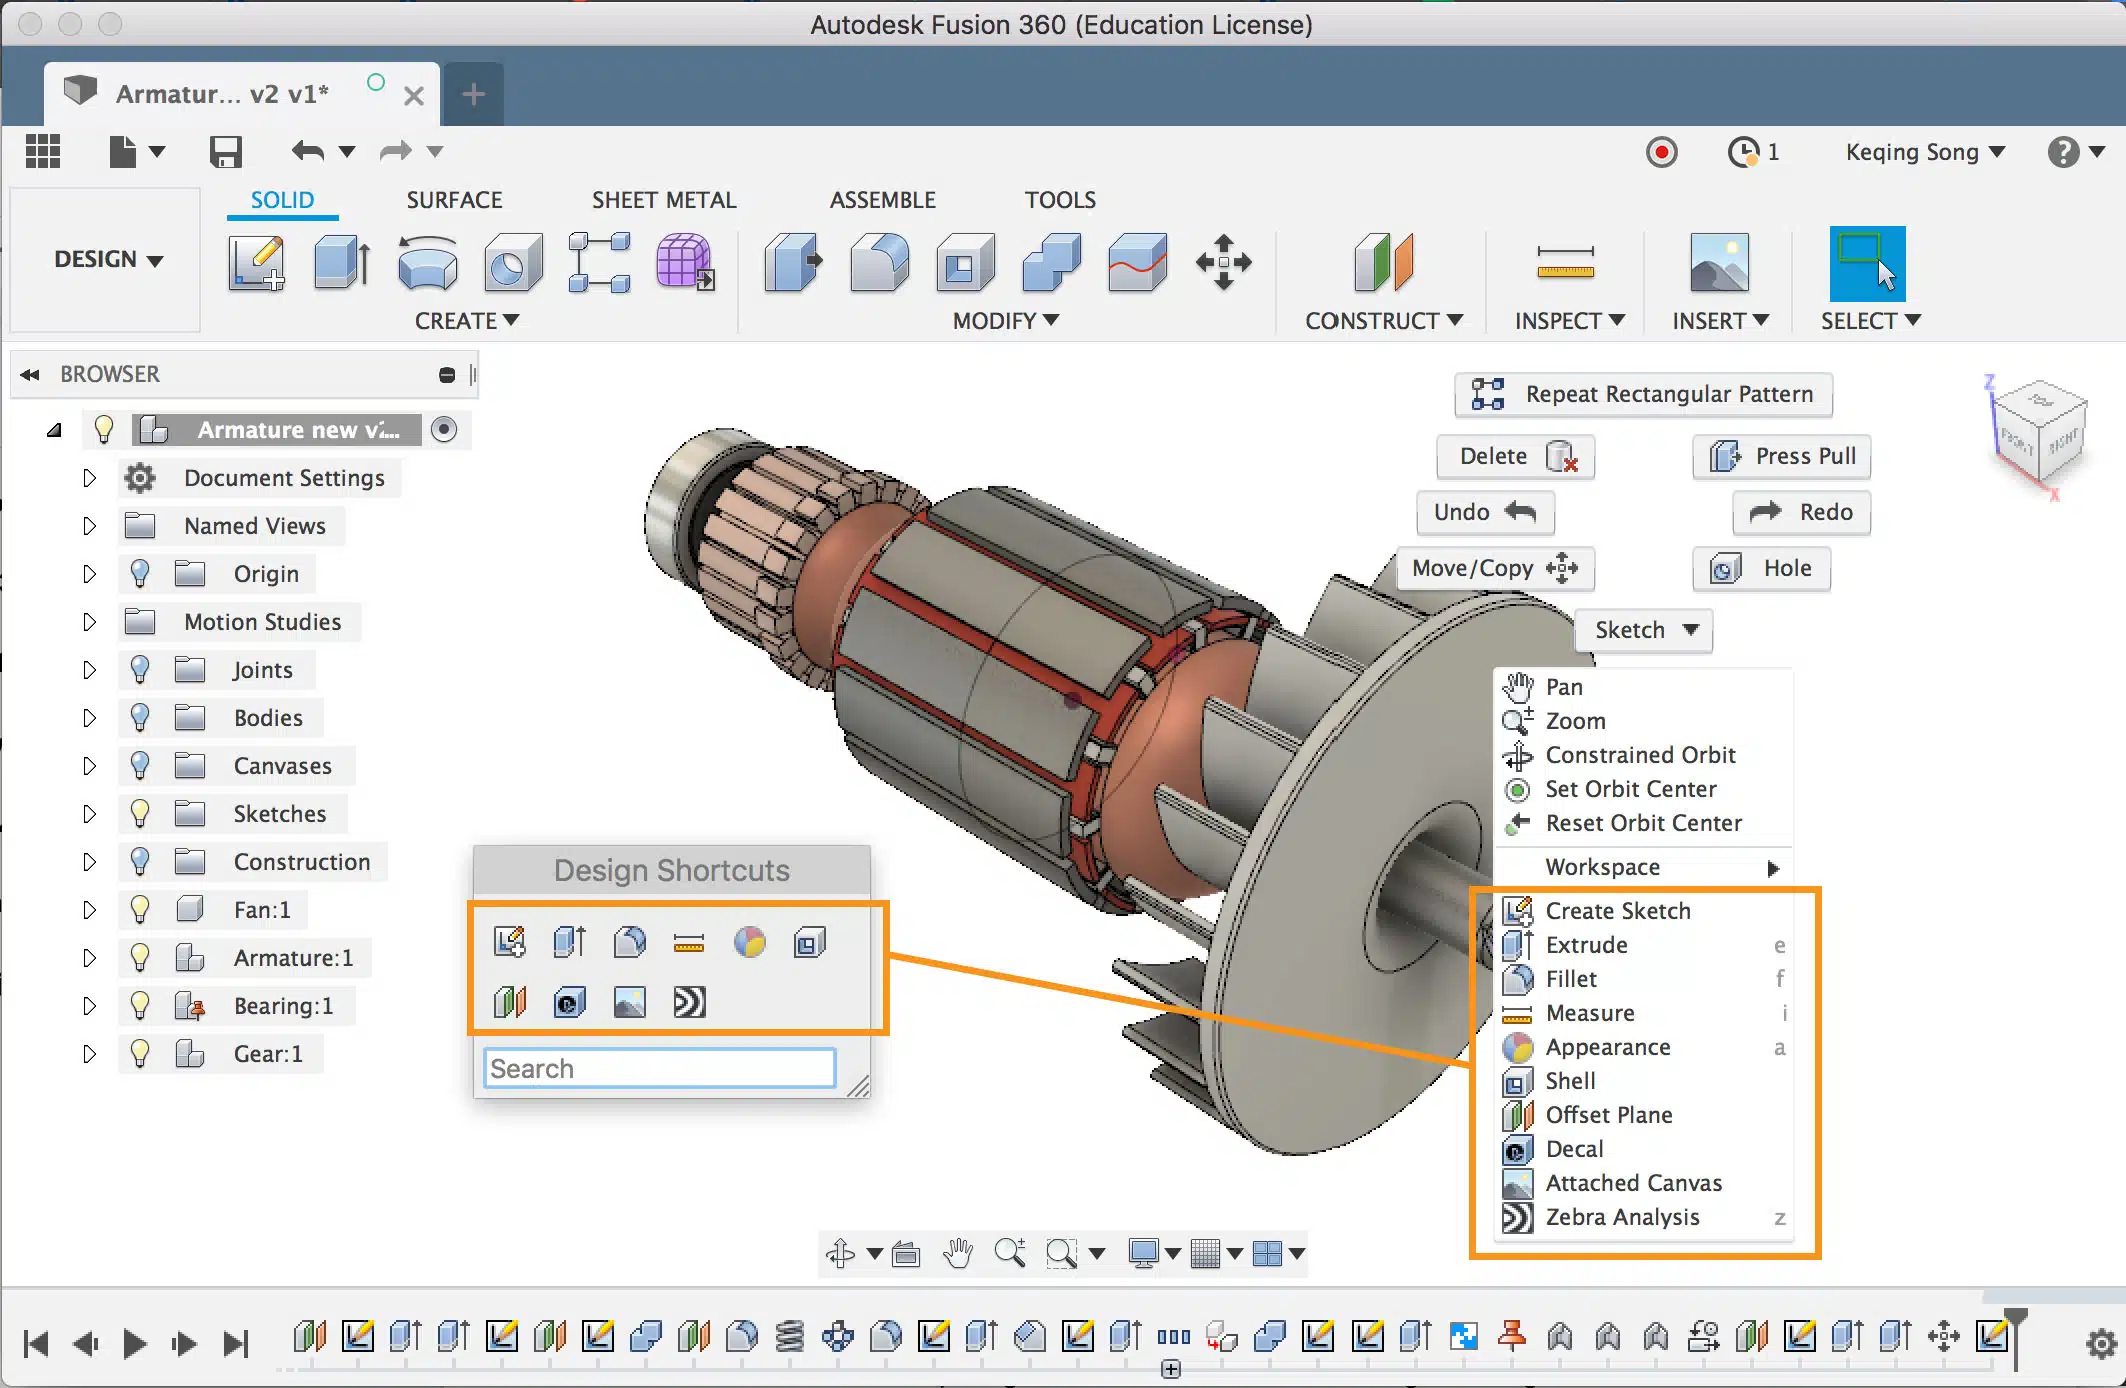
Fusion 360 user interface Source
When importing image files into Fusion 360, we must first look at the type of image that we’re importing into the program. The next thing to figure out would then be how to convert those images into Fusion 360 models.
For the types of images we typically deal with, we’ll need to figure out if they’re raster images or vector files. Vector files are much easier to deal with in CAD programs, but raster files get a little bit tricky.
When you convert these image files into models, you can opt for manual conversion, which is a tedious but precise process, or you can choose to go the automated conversion route, which is a much more efficient solution for regular users of imported reference images.
When choosing what automatic conversion solution works best, we strongly recommend our very own Scan2CAD. The internationally acclaimed program is a versatile and easy-to-use conversion software that can take any standard image files and convert them into DXF, DWG, or g-code files. The software also has object recognition, OCR, and customizable conversion settings better than most available conversion solutions out there.
Image types and how to import them
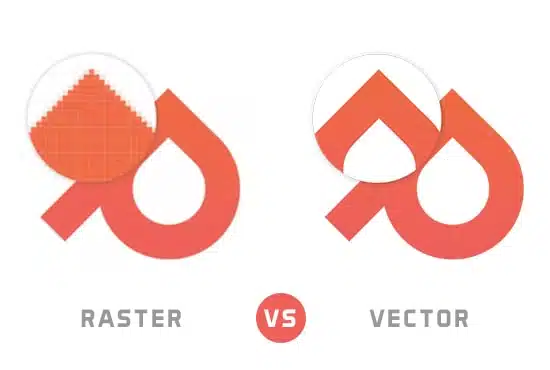
The difference between raster and vector Source
When considering how to best handle raster and vector images when importing them into Fusion 360, it could be useful to understand the underlying mechanics of these two image types and what makes them so different from each other.
1. Raster Images
Raster images are the images that most people will have handled before. Some of the most common image file types such as JPEG, GIF, PNG, and certain PDF files are all examples of raster images, otherwise known as bitmap images. Raster files are made up of clustered, colored pixels and the resolution or “clarity” depends on how many pixels make up the image. Simply put, the less number of pixels in the image, the blurrier it gets and the harder it is to work with on Fusion 360.
For raster files, the import and conversion process includes first converting the raster image into an editable vector version of itself and then using that to create a model. First, click on Insert > Canvas and then select the image you want to import. Select the face or plane you want to insert the image into and then adjust its properties appropriately. Click on OK when you’ve finalized your settings.
2. Vector images
Vector images are the file types that most CAD programs can freely edit and manipulate. Common Autodesk standard file formats such as DWG and DXF are all examples of vector files. Although PDF files were mentioned to be a type of raster image, PDFs are actually a bit special in that they can contain both raster and vector file types. In contrast to a raster image’s pixels, vector images are made up of what you would call ‘paths’. There’s a bunch of technical explanations as to how paths work, but suffice to say that since they’re not pixels, vector types will always be crisp and clear regardless of zoom level or file resolution.
For vector files, since these are already fully editable in Fusion 360, it’s a simple matter of just importing your vector file into Fusion and using them as a jumping-off point for your 3D models. That is, as long as they’re in a file format that Autodesk programs can handle.
When you want to open up a DWG file, click on File > Open. Navigate to where your DWG file is and open that up. If you want to insert a DXF file, click on Insert > Insert DXF and then select the DXF file you want to insert.

Converting raster images for Fusion 360
There are two main methods to convert raster images for use in Fusion 360: manual and automatic. Additionally, automatic methods would usually branch out into in-app conversion solutions and third-party apps. But in the case of Fusion 360, there are sadly no in-app plugins that can provide such functionality.
1. Manual conversion
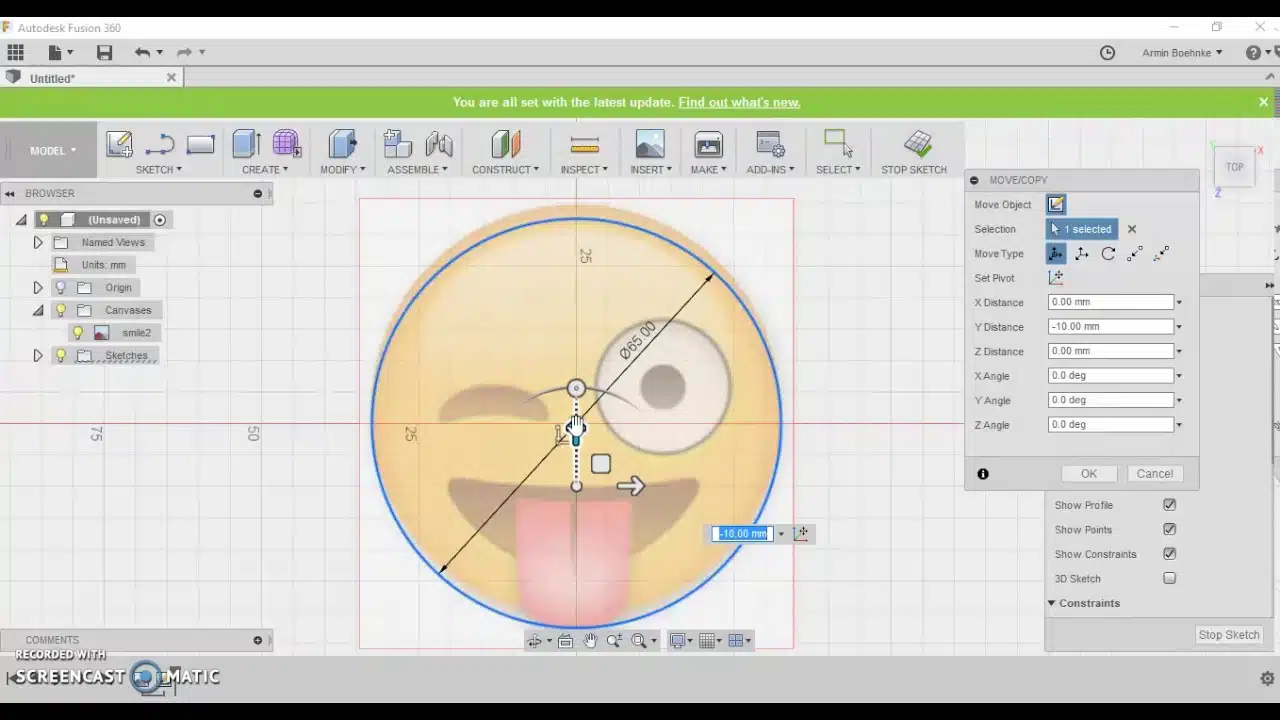
Tracing over an imported raster image with Fusion 360’s sketch tools Source
Manually tracing over an imported raster image can be a bit of a pain. It’s tedious, time-consuming, and highly inefficient especially with more complex reference images. For some users though, this might be the only conversion option they know and are comfortable with. And who can blame them? It’s a free and straightforward way to get to where you need to go.
Even some users who know about automatic conversion opt for manual tracing due to its more precise and involved process. Compared to most low-quality, free-to-use online conversion tools, manual conversion can also produce much more precise vector files from even low-quality images.
|
Pros:
|
Cons:
|
2. Automatic conversion
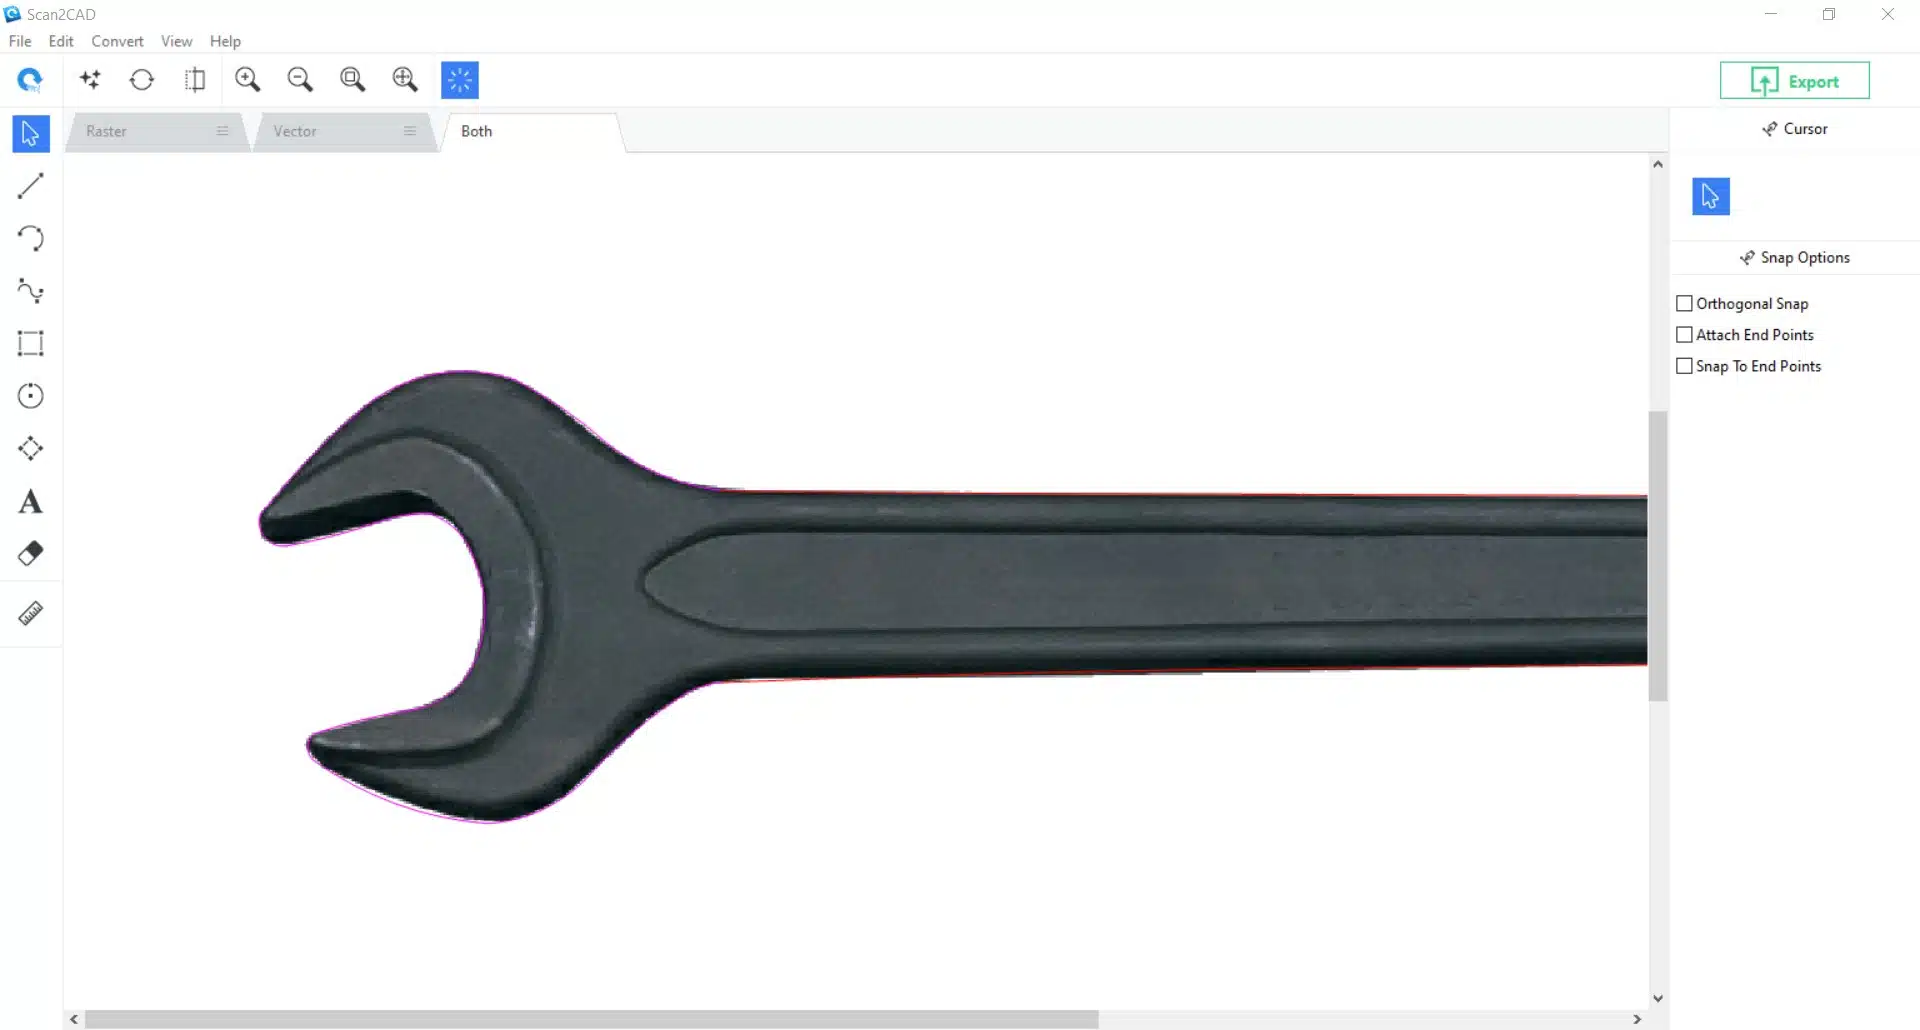
Converting a spanner image with Scan2CAD
As mentioned before, Fusion 360 does not have the built-in capacity to convert raster images into vector files. But instead of just biting the bullet and resorting to manual conversion, users can opt for specialized third-party apps such as Scan2CAD that can automatically convert both raster and vector images into the right format.
Scan2CAD can handle most standard raster and vector files. It’s primarily designed for CAD programs and CNC software, so it can output DXF, DWG, and g-code files with ease. It’s hands-down the top choice for conversion software for Fusion 360.
|
Pros:
|
Cons:
|
Automatic conversion with Scan2CAD
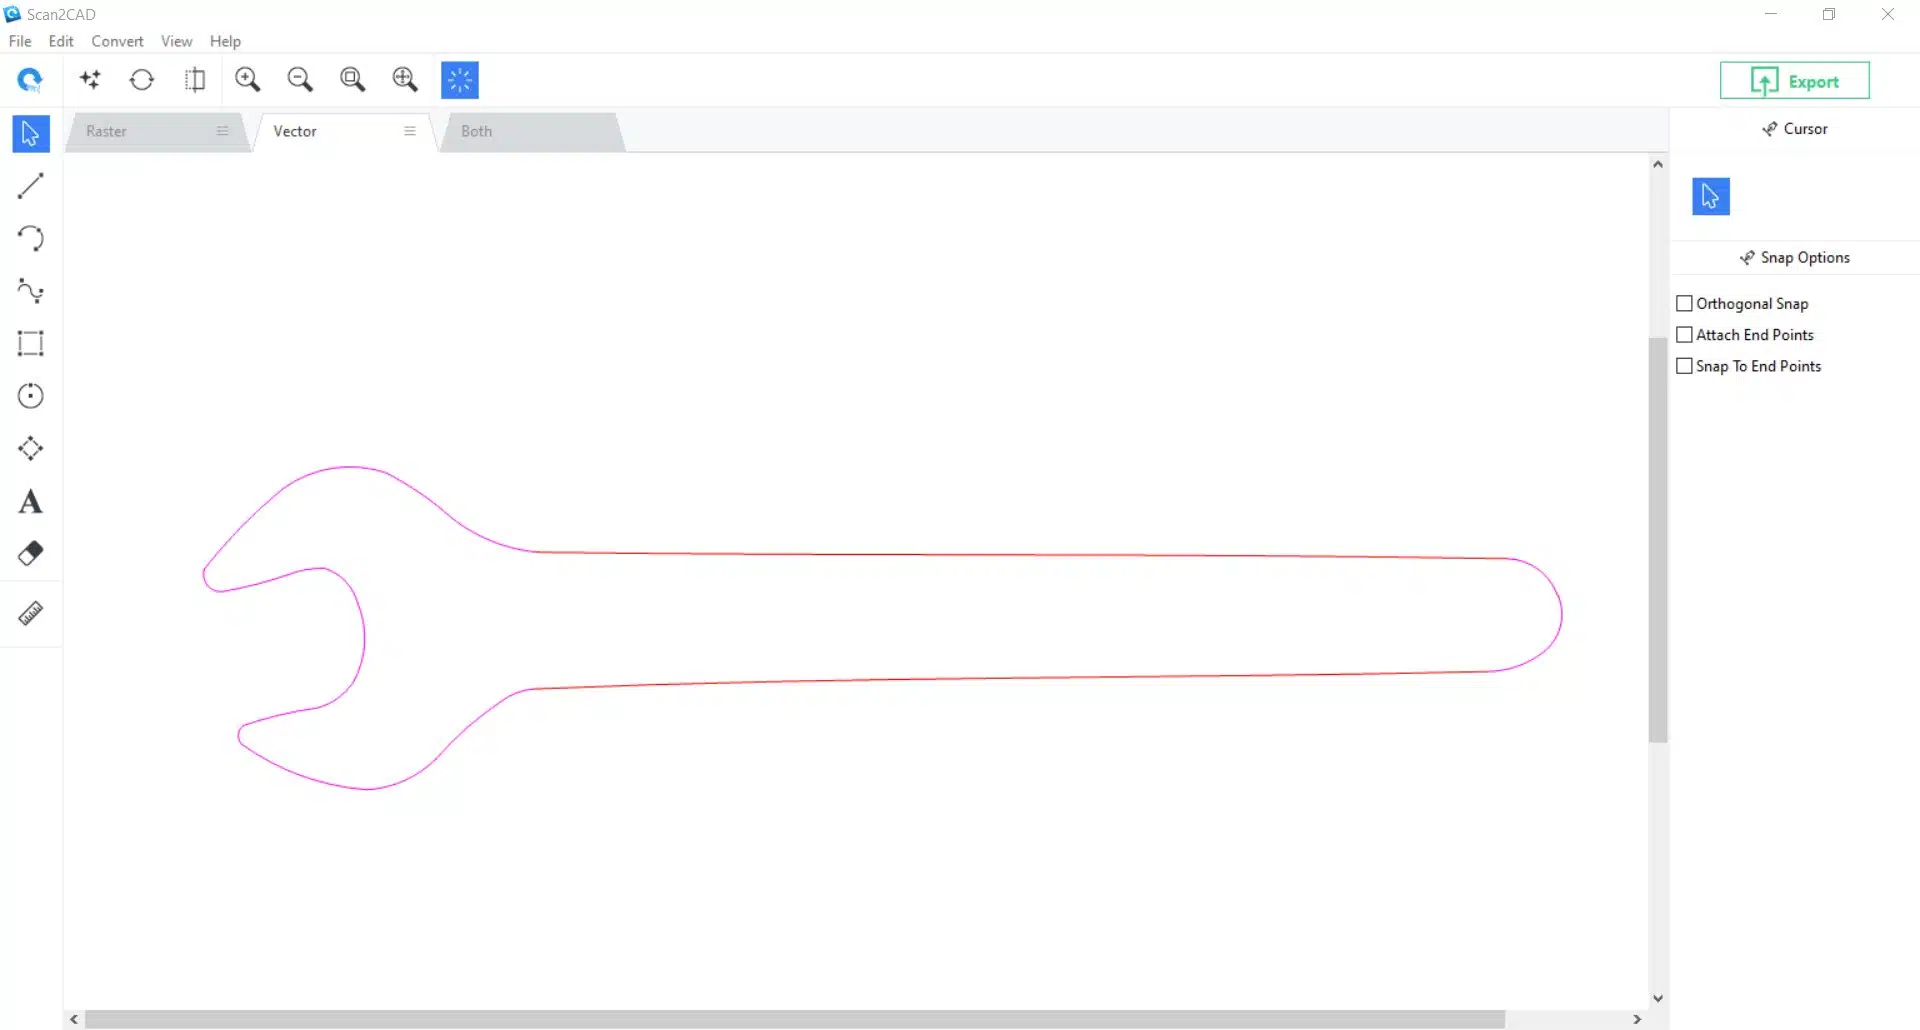
A highlighted view of all the lines (red) and arcs (magenta) of a converted vector file in Scan2CAD
While automatic conversion solutions sometimes get a bad reputation for having inaccurate or low-quality output files, this is mostly attributed to “free” online conversion services. These websites will usually include watermarks, inaccurate object representations, and upload limits.
Scan2CAD is a cut above the rest, mainly because of two very powerful tools: advanced object recognition and accurate OCR functionality.
1. Object recognition
When a conversion solution gives you a bunch of connected and jagged polylines instead of smooth curves, this is usually due to bad object recognition. That is, the program does not see curves or circles as such and just turns the whole image into a mess of polylines. Scan2CAD avoids this type of haphazard conversion and uses its superior object recognition to accurately convert arcs into arcs and circles into circles. It can also handle dashed lines, beziers or splines, and even solid block vector objects.
2. OCR
OCR, optical character recognition, refers to how a program detects raster text and converts it into editable vector text. Plenty of scanner software and converters will boast of OCR functionality, but the average OCR conversion of most raster text often produces gibberish. This makes it all the more frustrating since you’ll have to erase or edit the mucked-up OCR text and has you wishing the program didn’t use OCR in the first place. Scan2CAD, on the other hand, has one of the most sophisticated and accurate OCR capabilities in the market. It can handle all types of text and at any angle of tilt.
Final thoughts
Manually converting imported raster images on Fusion 360 works only in certain cases: 1 – if you’re working with one or two files, 2 – if the quality of the raster image is too unsuitably low that only the human eye can reasonably extrapolate the details, and 3 – if it’s a one-off conversion process that you know you won’t be doing regularly.
Otherwise, if you’re regularly working with reference images and importing them into Fusion 360 fairly often, then Scan2CAD is the way to go. It optimizes the process and makes life much easier for Fusion 360 users.
As the most accurate and efficient vector conversion solution available, the time and labor saved with Scan2CAD is well worth the investment.
